Extending your Wi-Fi properly from one building to another is, unfortunately, a bit of a secret art—but it doesn't need to be either difficult or expensive. The secret lies mostly in knowing the right tools for the job. This is a job that shouldn't involve range extenders or rely on standard Wi-Fi mesh pieces. The good news is, with the right gear, you can connect your home to an outbuilding without either professional expertise or a ditch witch and a spool of burial-grade cable.
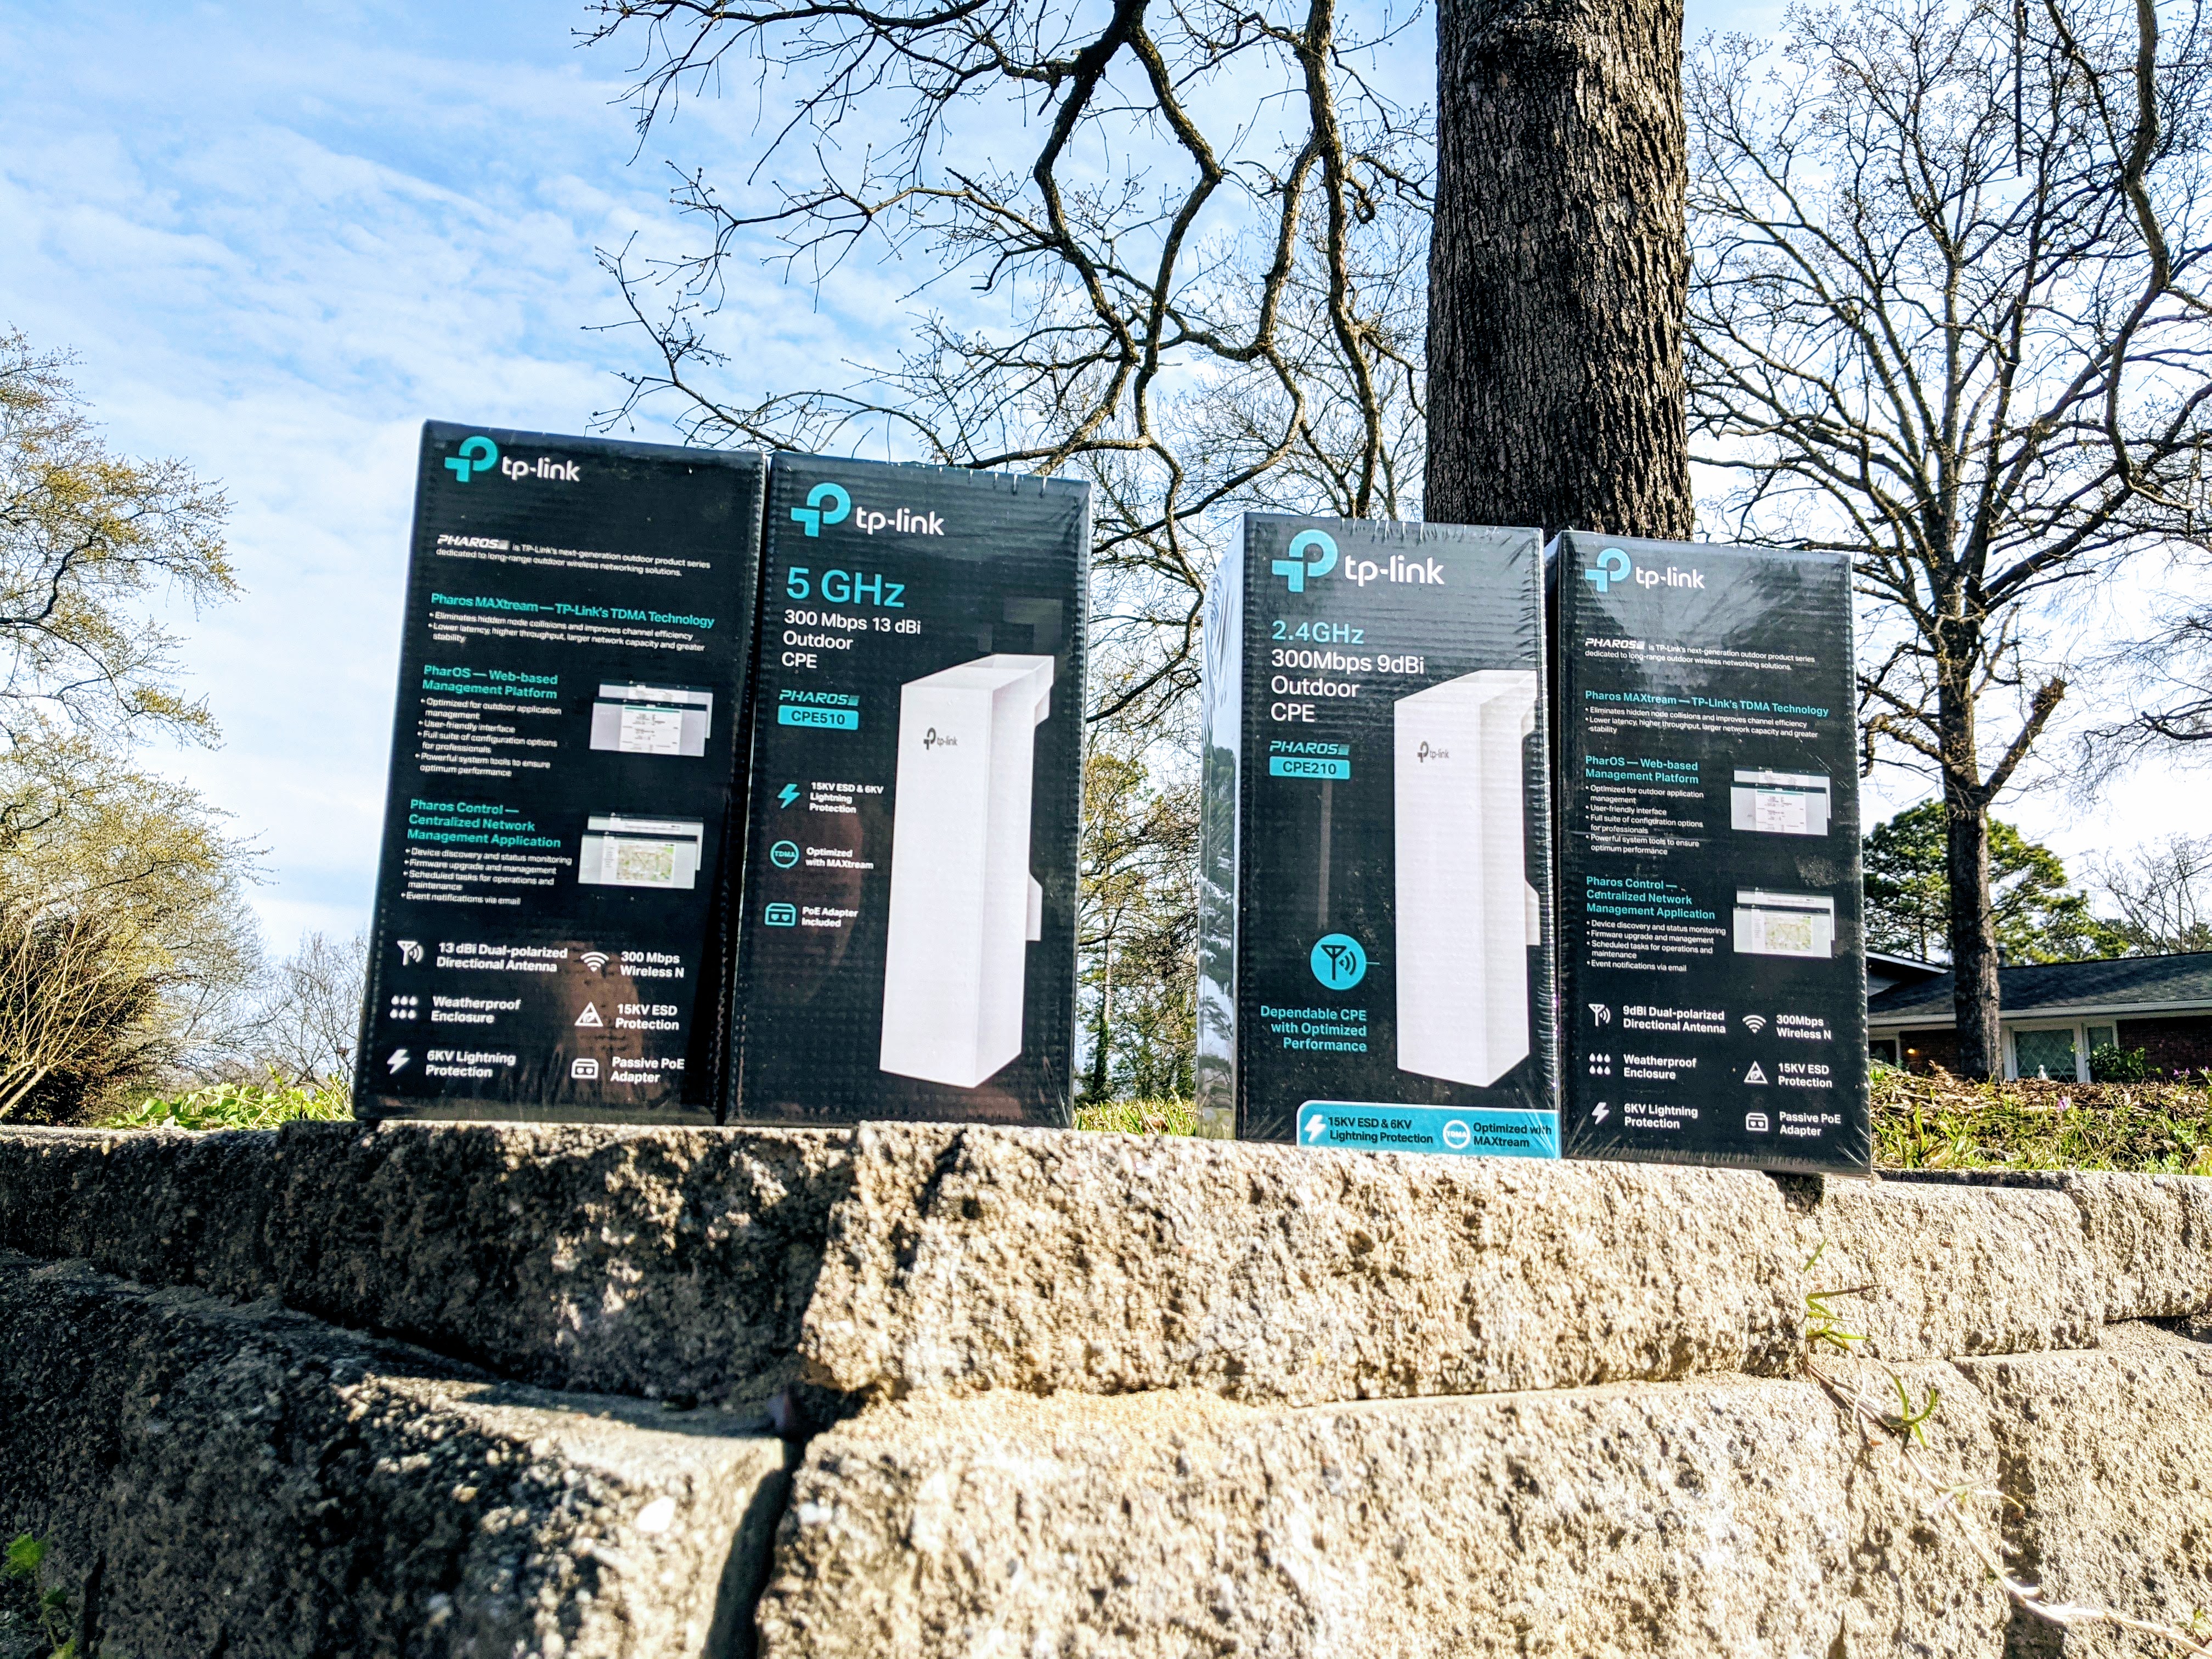
Although the Salter household (current generation) is planted firmly in suburbia, my parents stayed rural when they moved closer to their grandkids. Their place is beautiful, but it's the kind of home where a riding lawn mower is optional—a tractor with a bush hog is a necessity. Said tractor lives in a barn about 80 meters from the house, much of which is a moderately wooded grove. And that made it an excellent test candidate for a little DIY networking experiment.
Our goal in this exercise is not to geek out as hard as possible by mounting and aiming everything with millimeter precision. Instead, we're simply out to demonstrate that wirelessly connecting two buildings quickly, cheaply, and easily is possible for anyone. In fact, you can even enjoy more-than-acceptable results in the end.
Wireless point-to-point bridging
 My parents' barn (left) and house (right) are separated by 80 meters, much of which is significantly wooded.Jim Salter
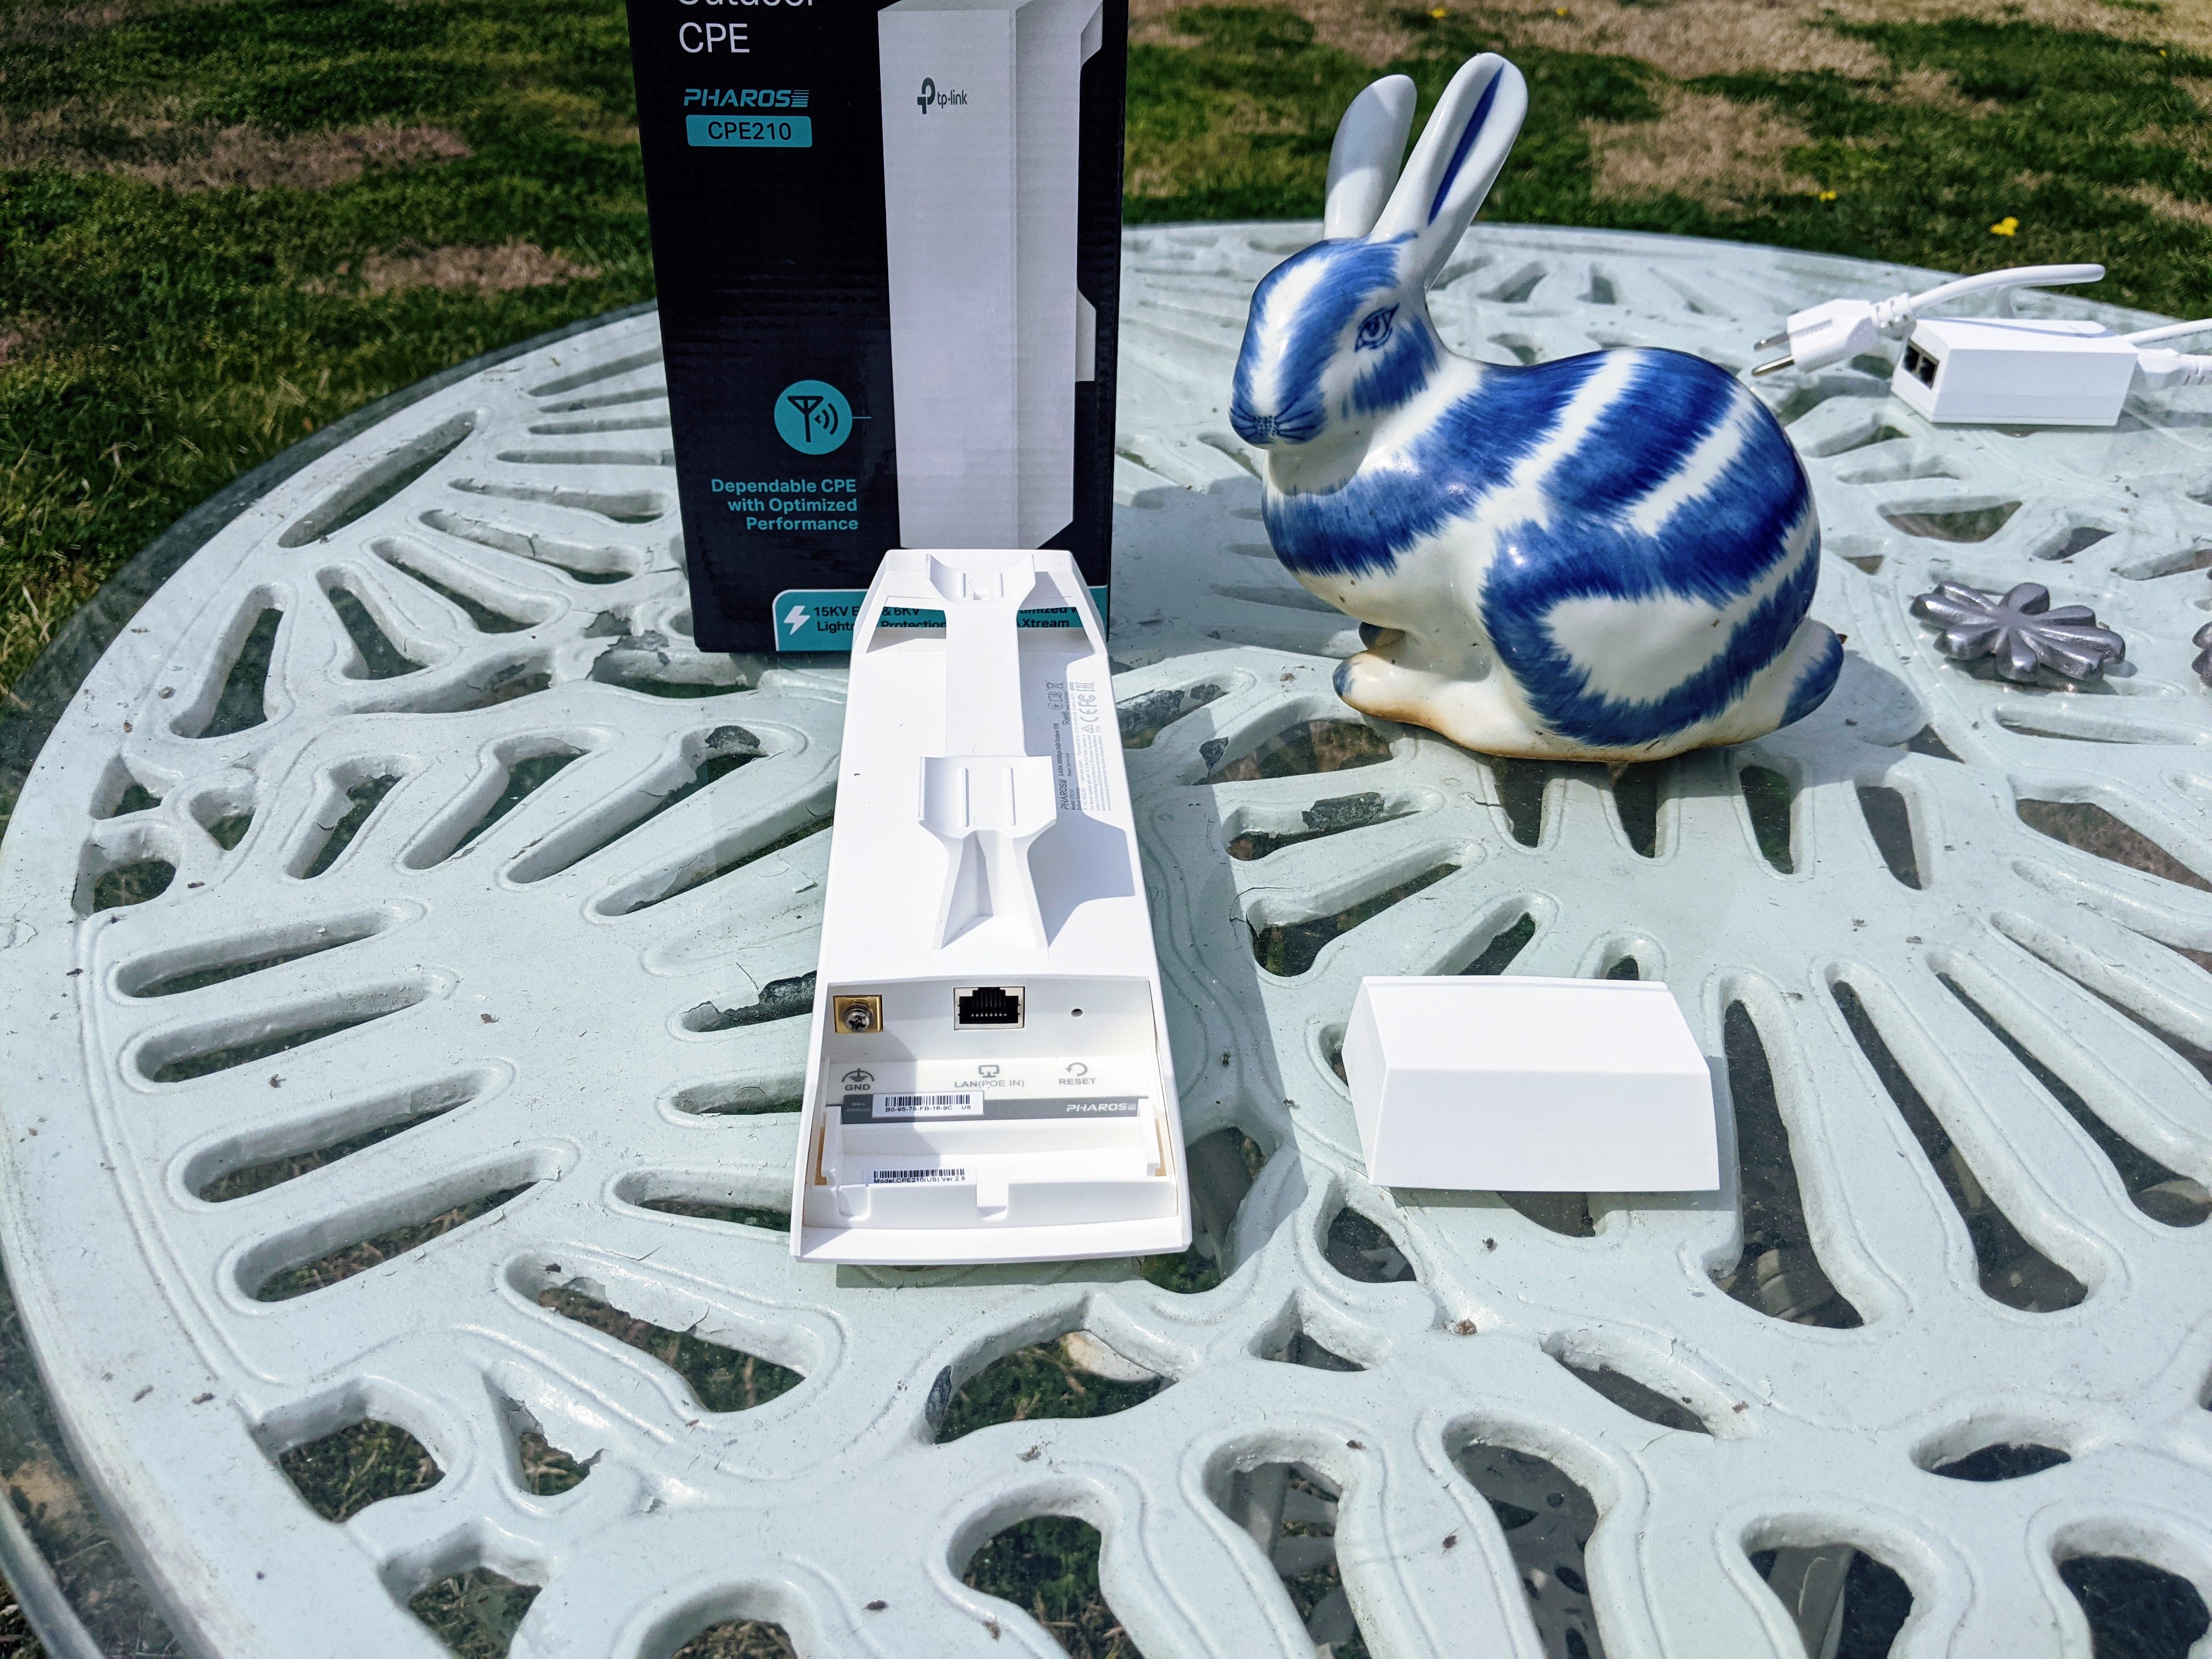 Left front—CPE210, with hideaway Ethernet access panel removed. Right rear—included PoE injector, for those who don't have PoE switches already.Jim Salter
TP-Link Outdoor Wi-Fi Bridges
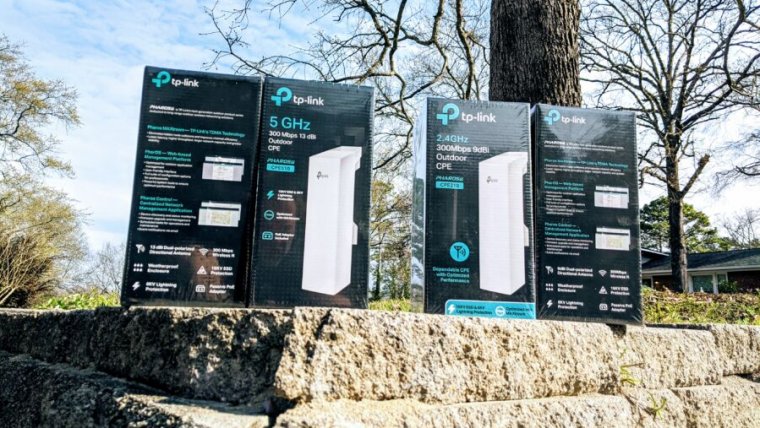
On the other hand, solutions involving omnidirectional Wi-Fi almost never work well. We've seen people try it with everything from range extenders to just splitting Wi-Fi mesh kits up between buildings. The correct answer here is, instead, point-to-point directional Wi-Fi like a pair of kits we recently tested—TP-Link's inexpensive 2.4GHz CPE210 and 5GHz CPE510 outdoor bridges.
Self-install is fine for short distances
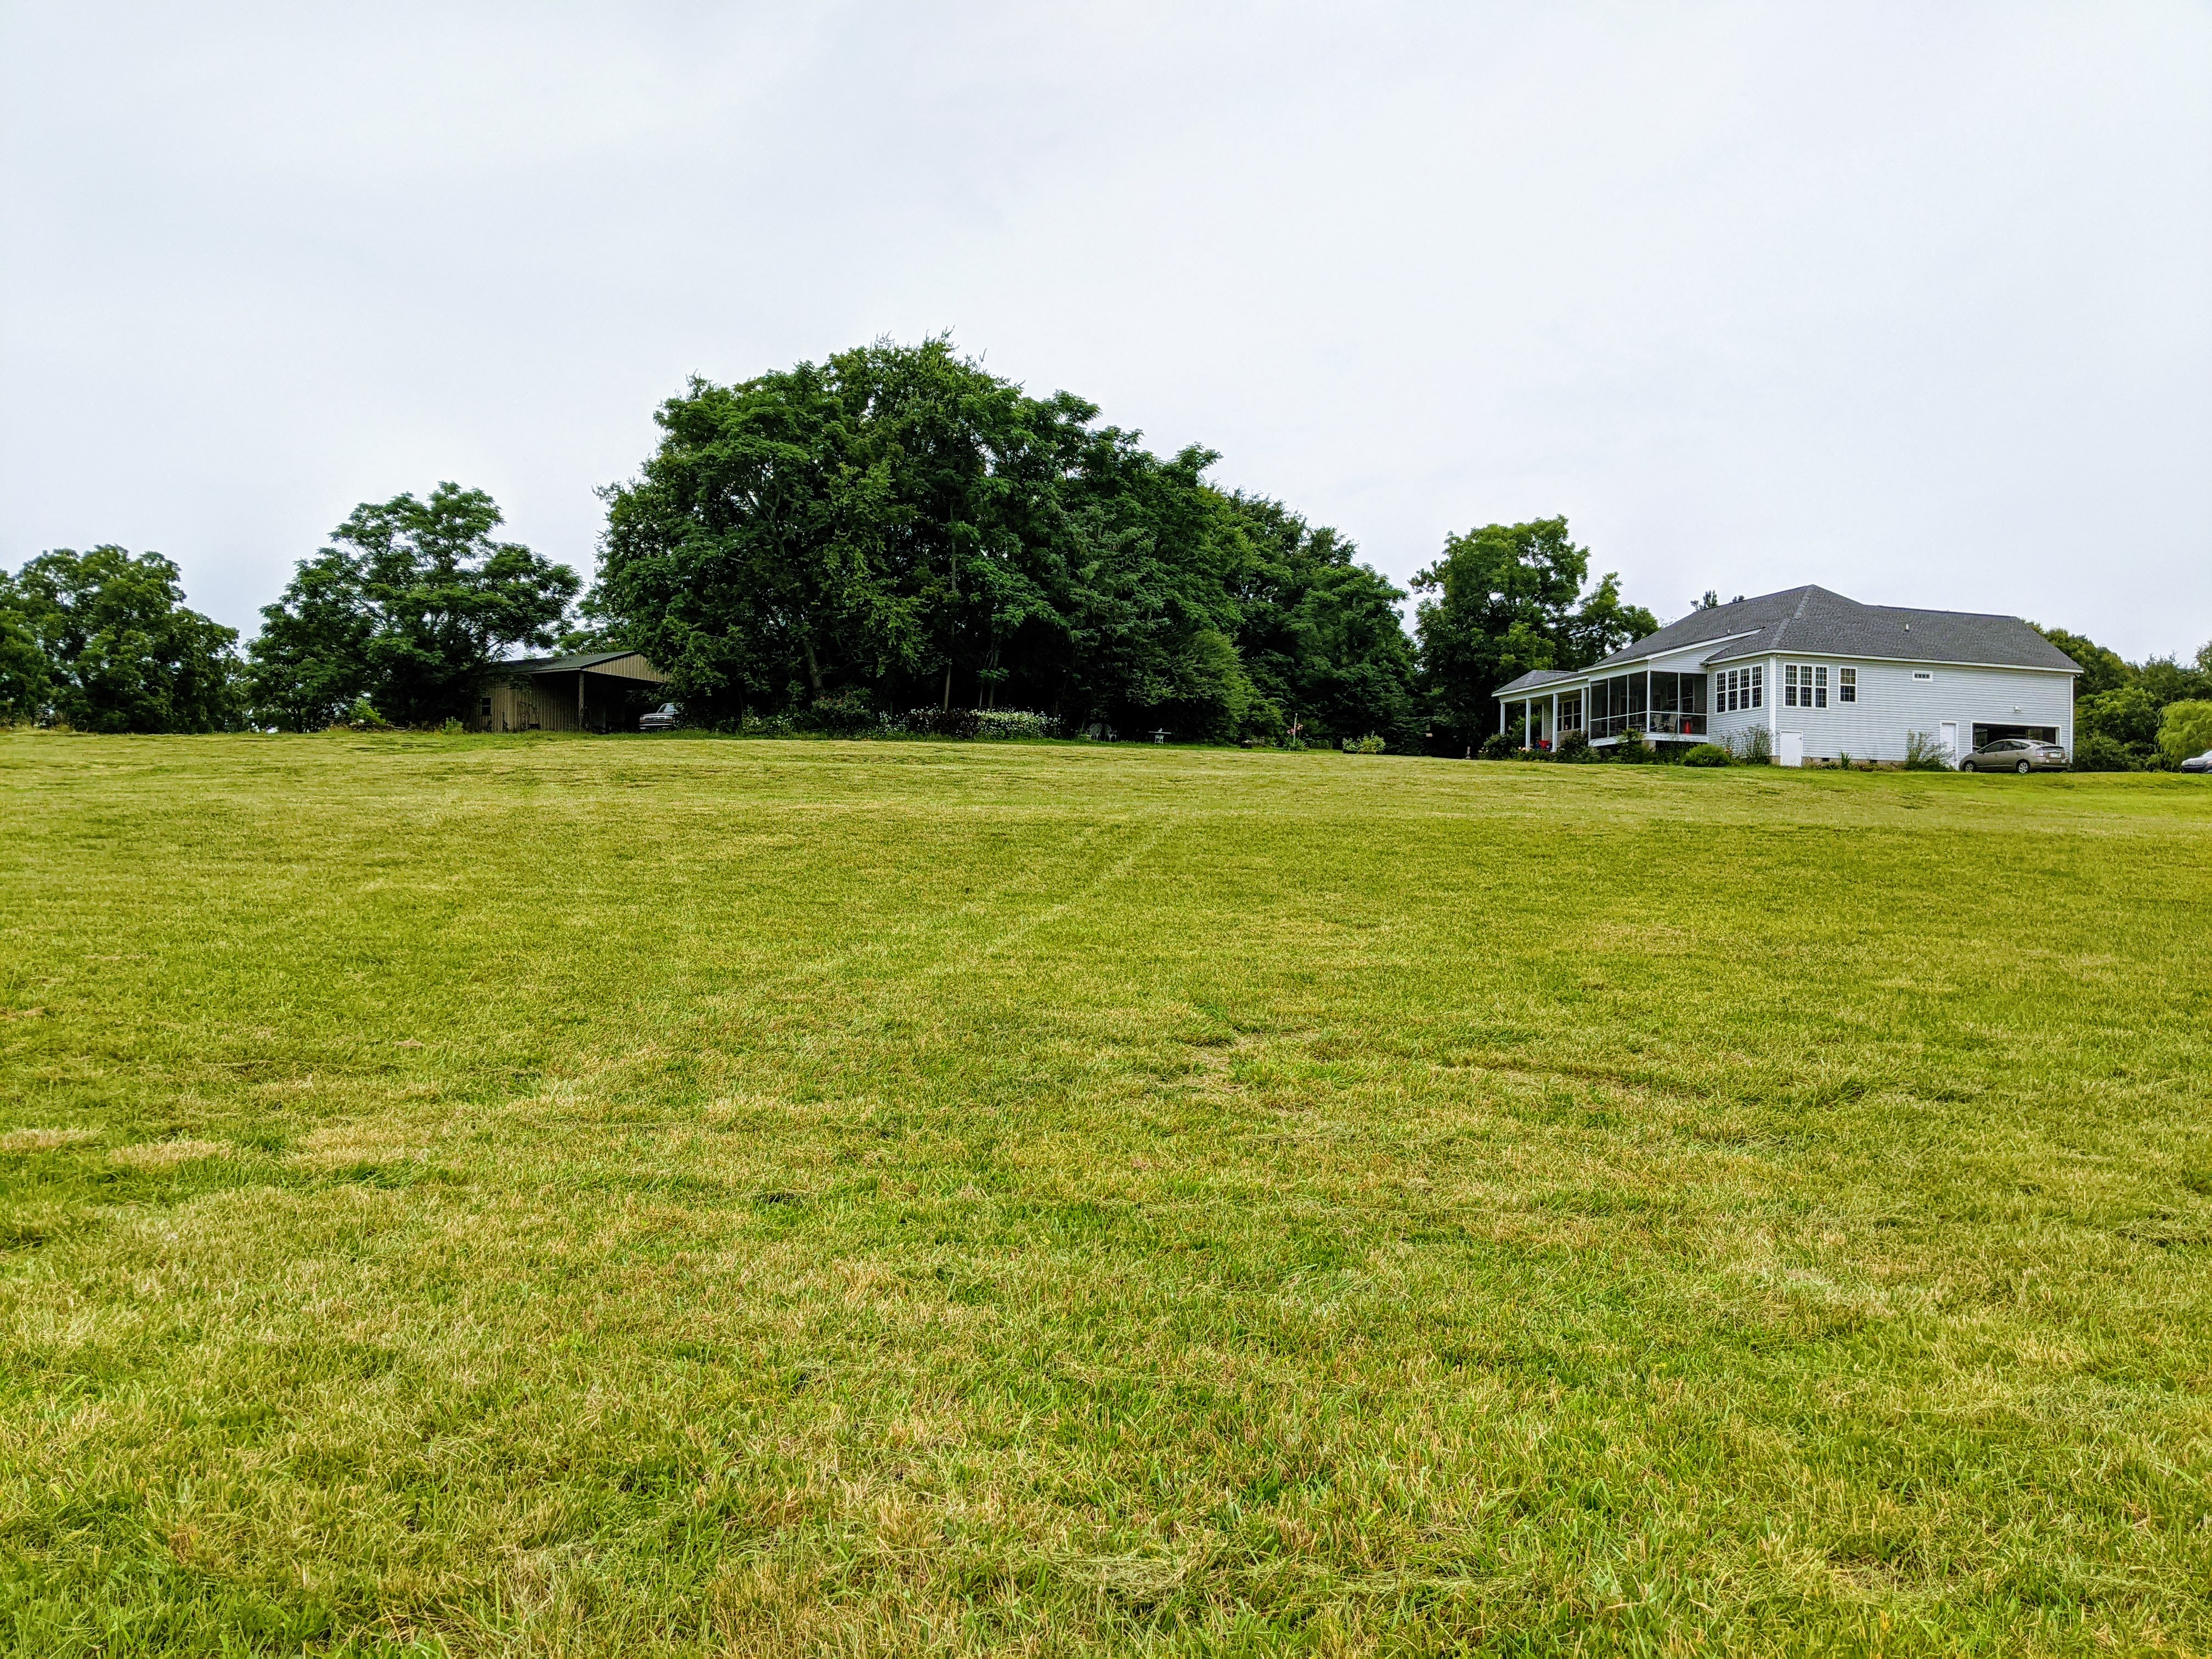
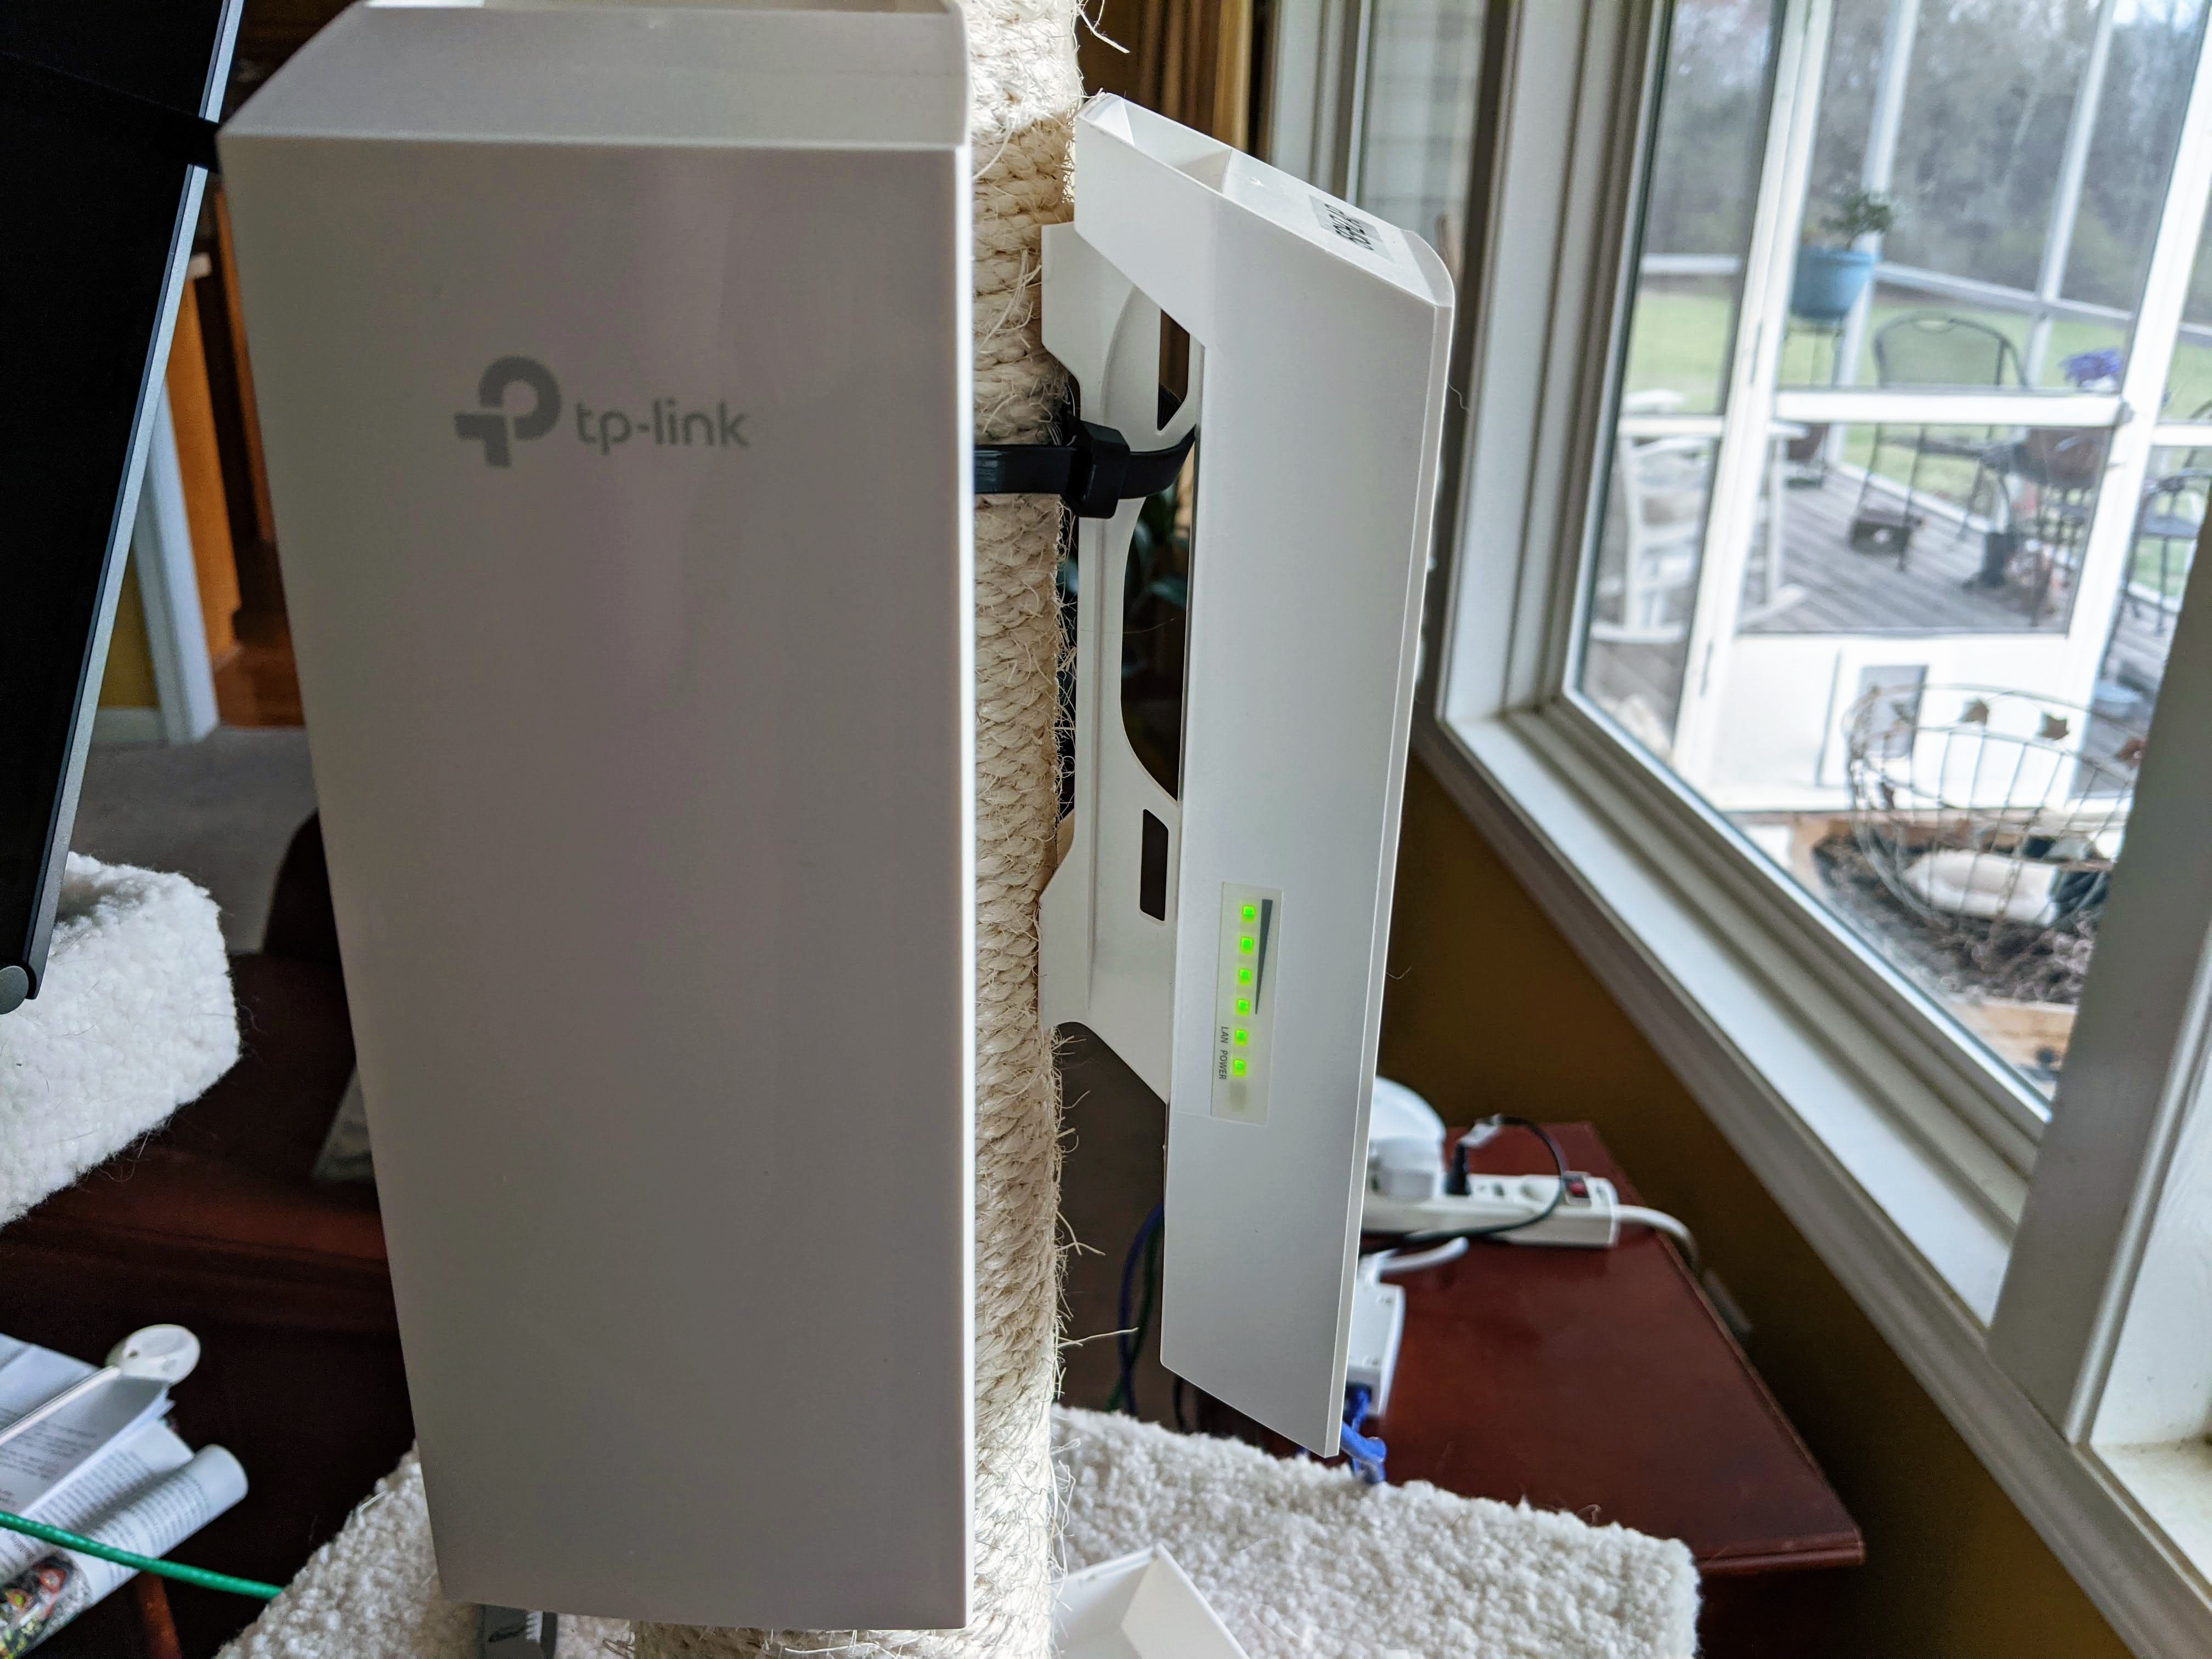
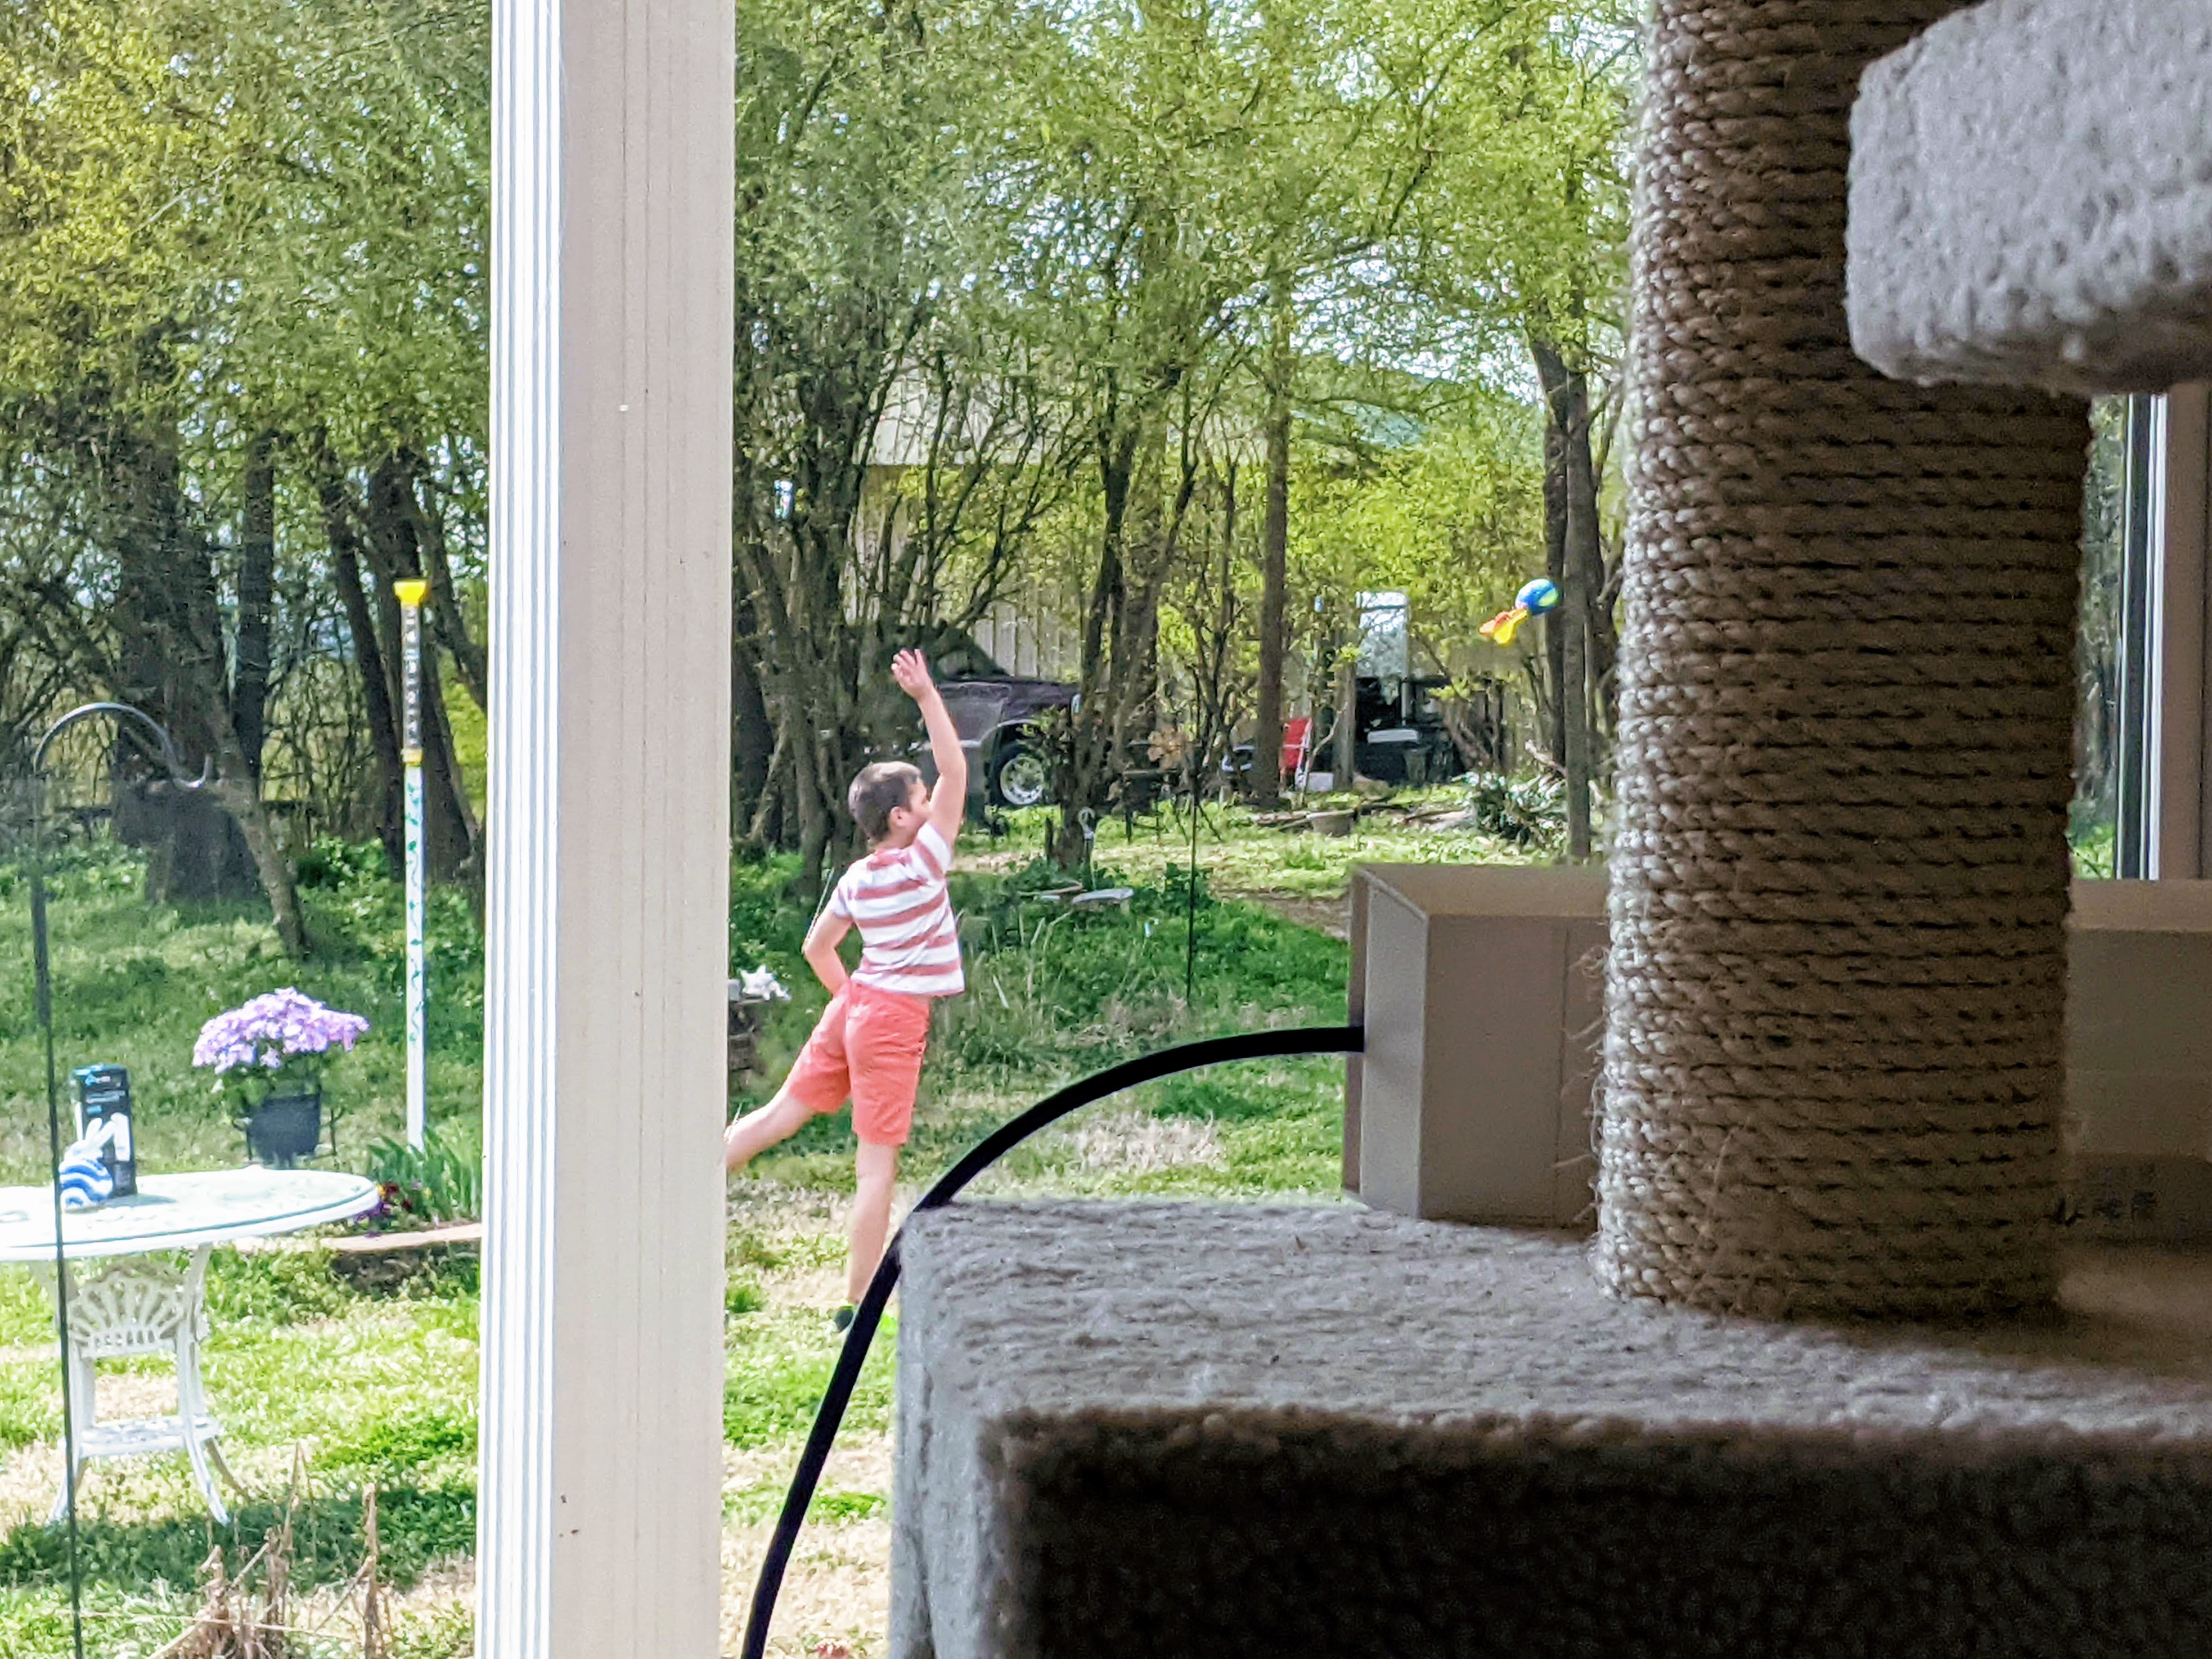 In this shot, we can see the Access Point side of CPE210 in the living room, sitting on a cat tree. The barn is visible 80m away, across a small wooded grove.Jim Salter
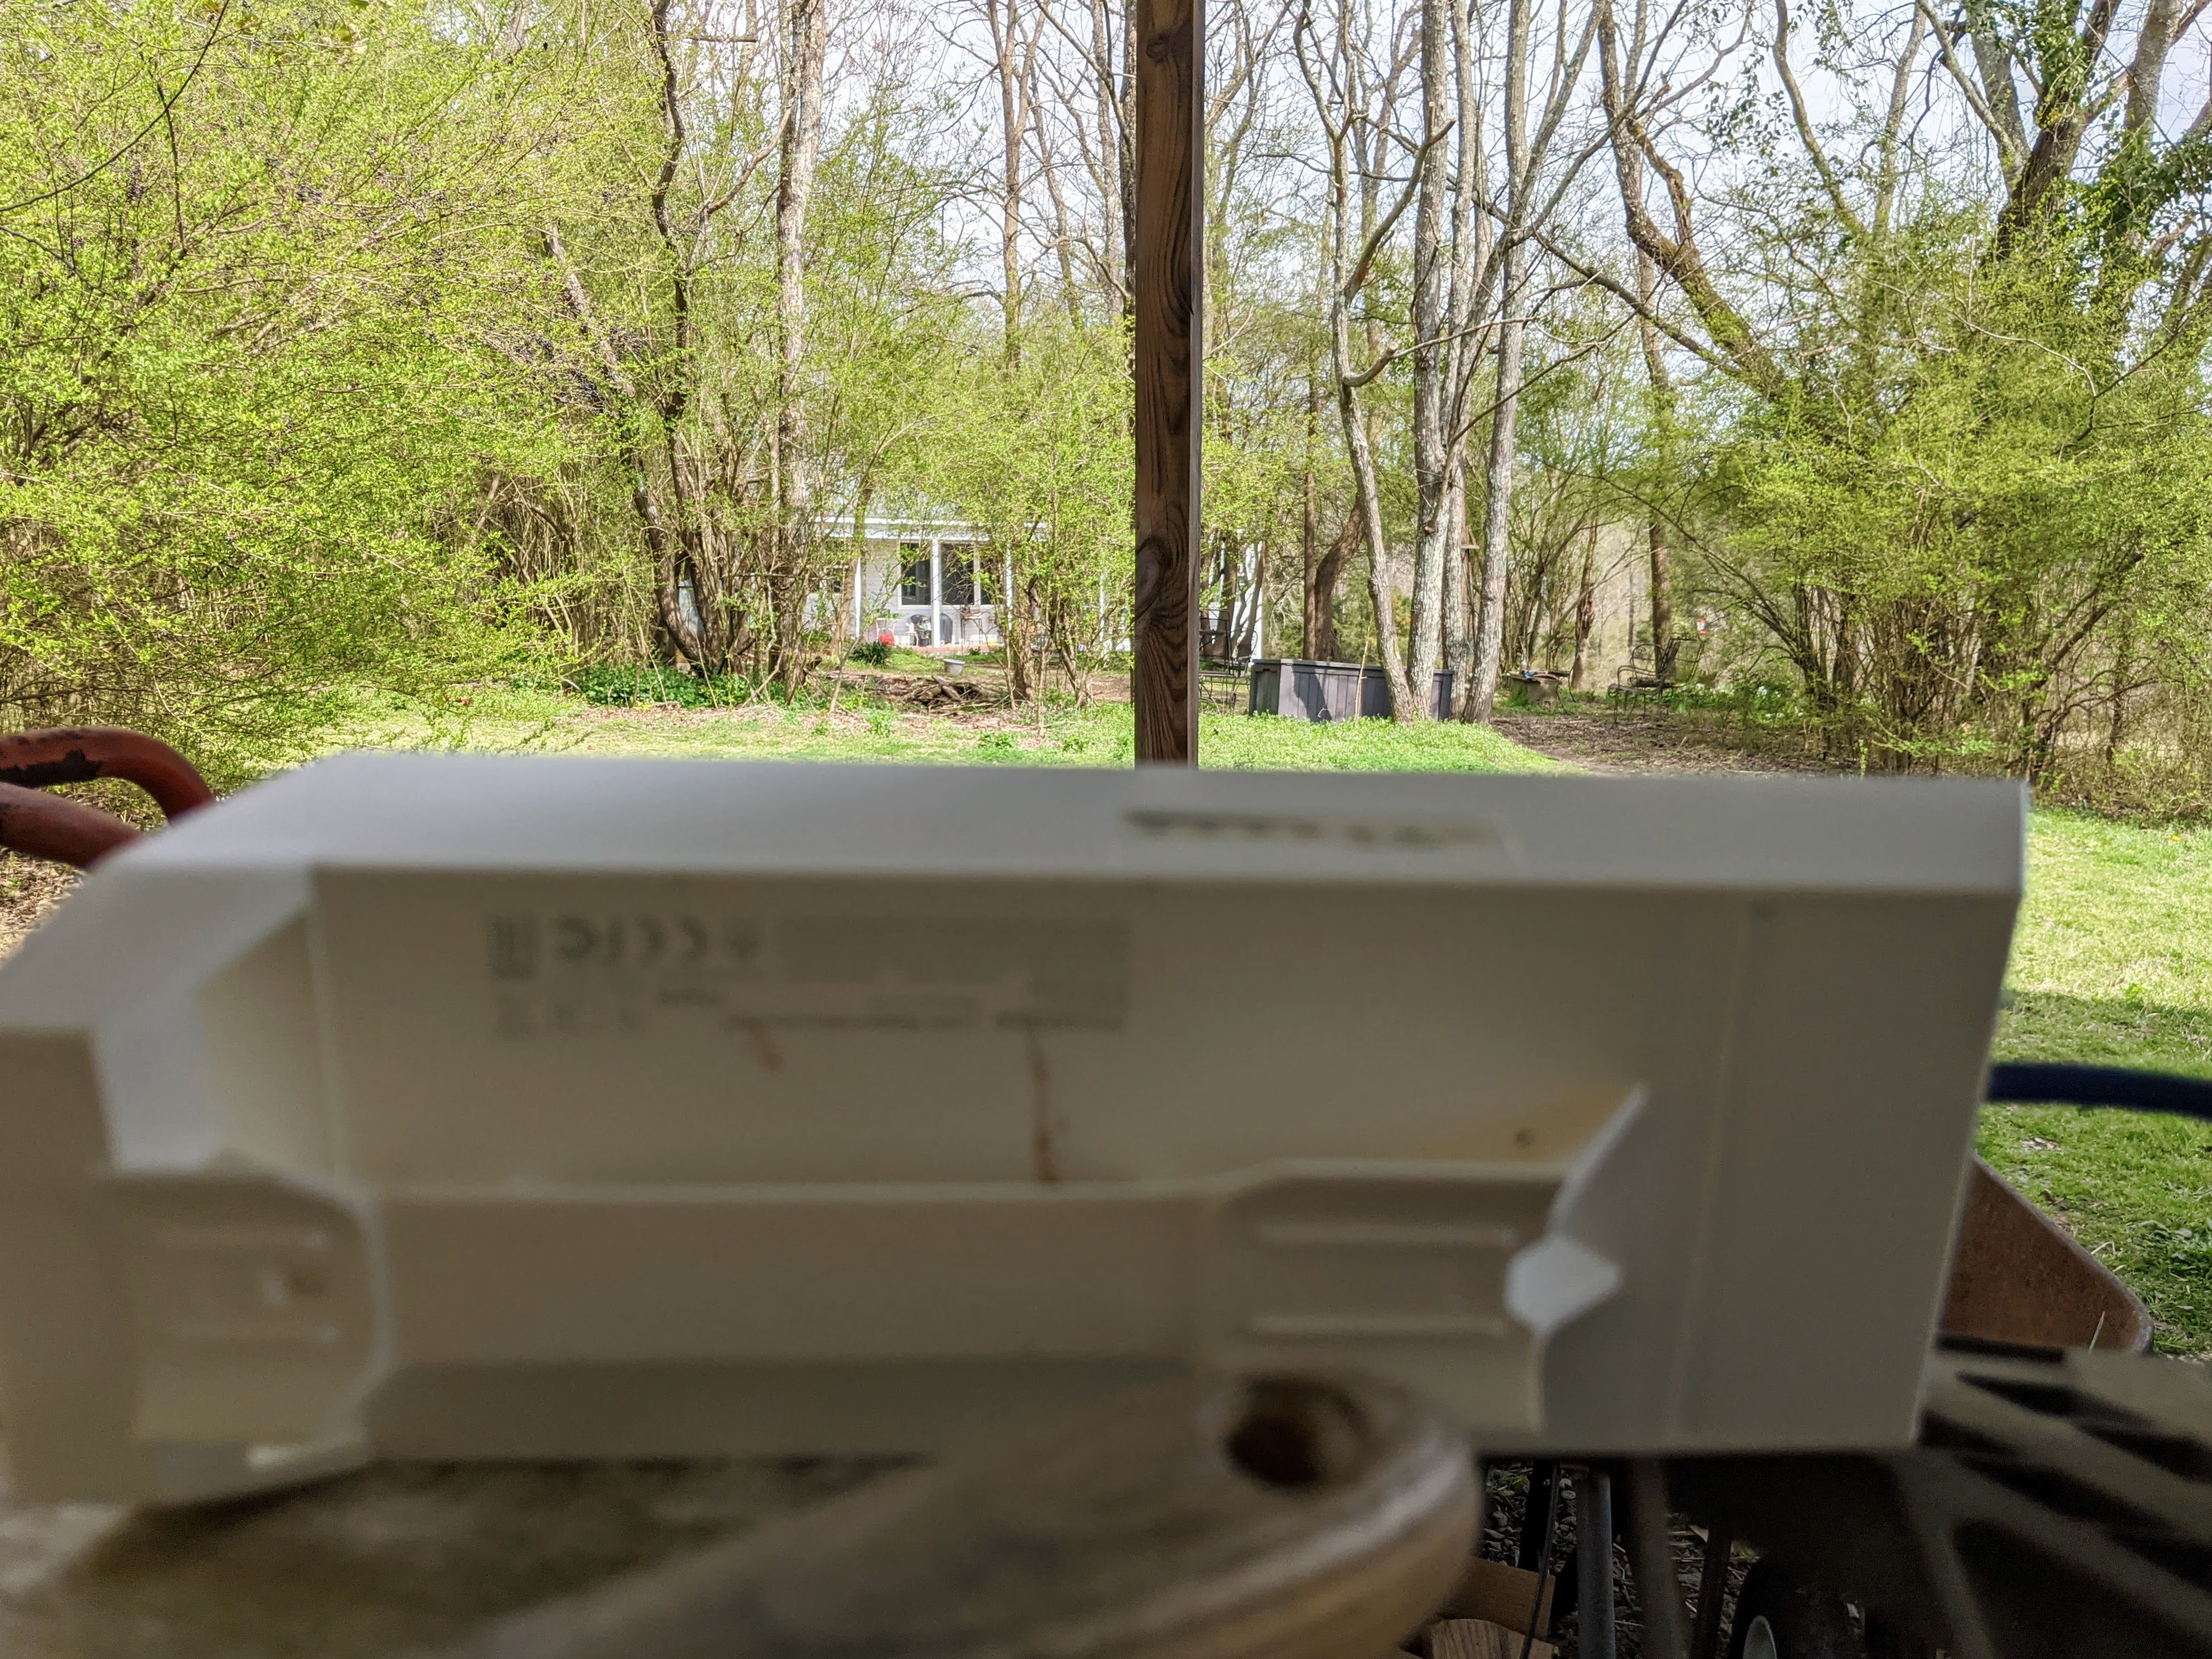 Still in March, we look over the Client side of CPE210 through the grove to the house. The Access Point is behind a thick knot of trees on the left; we deliberately mis-aimed the Client at the porch on the right instead.Jim Salter
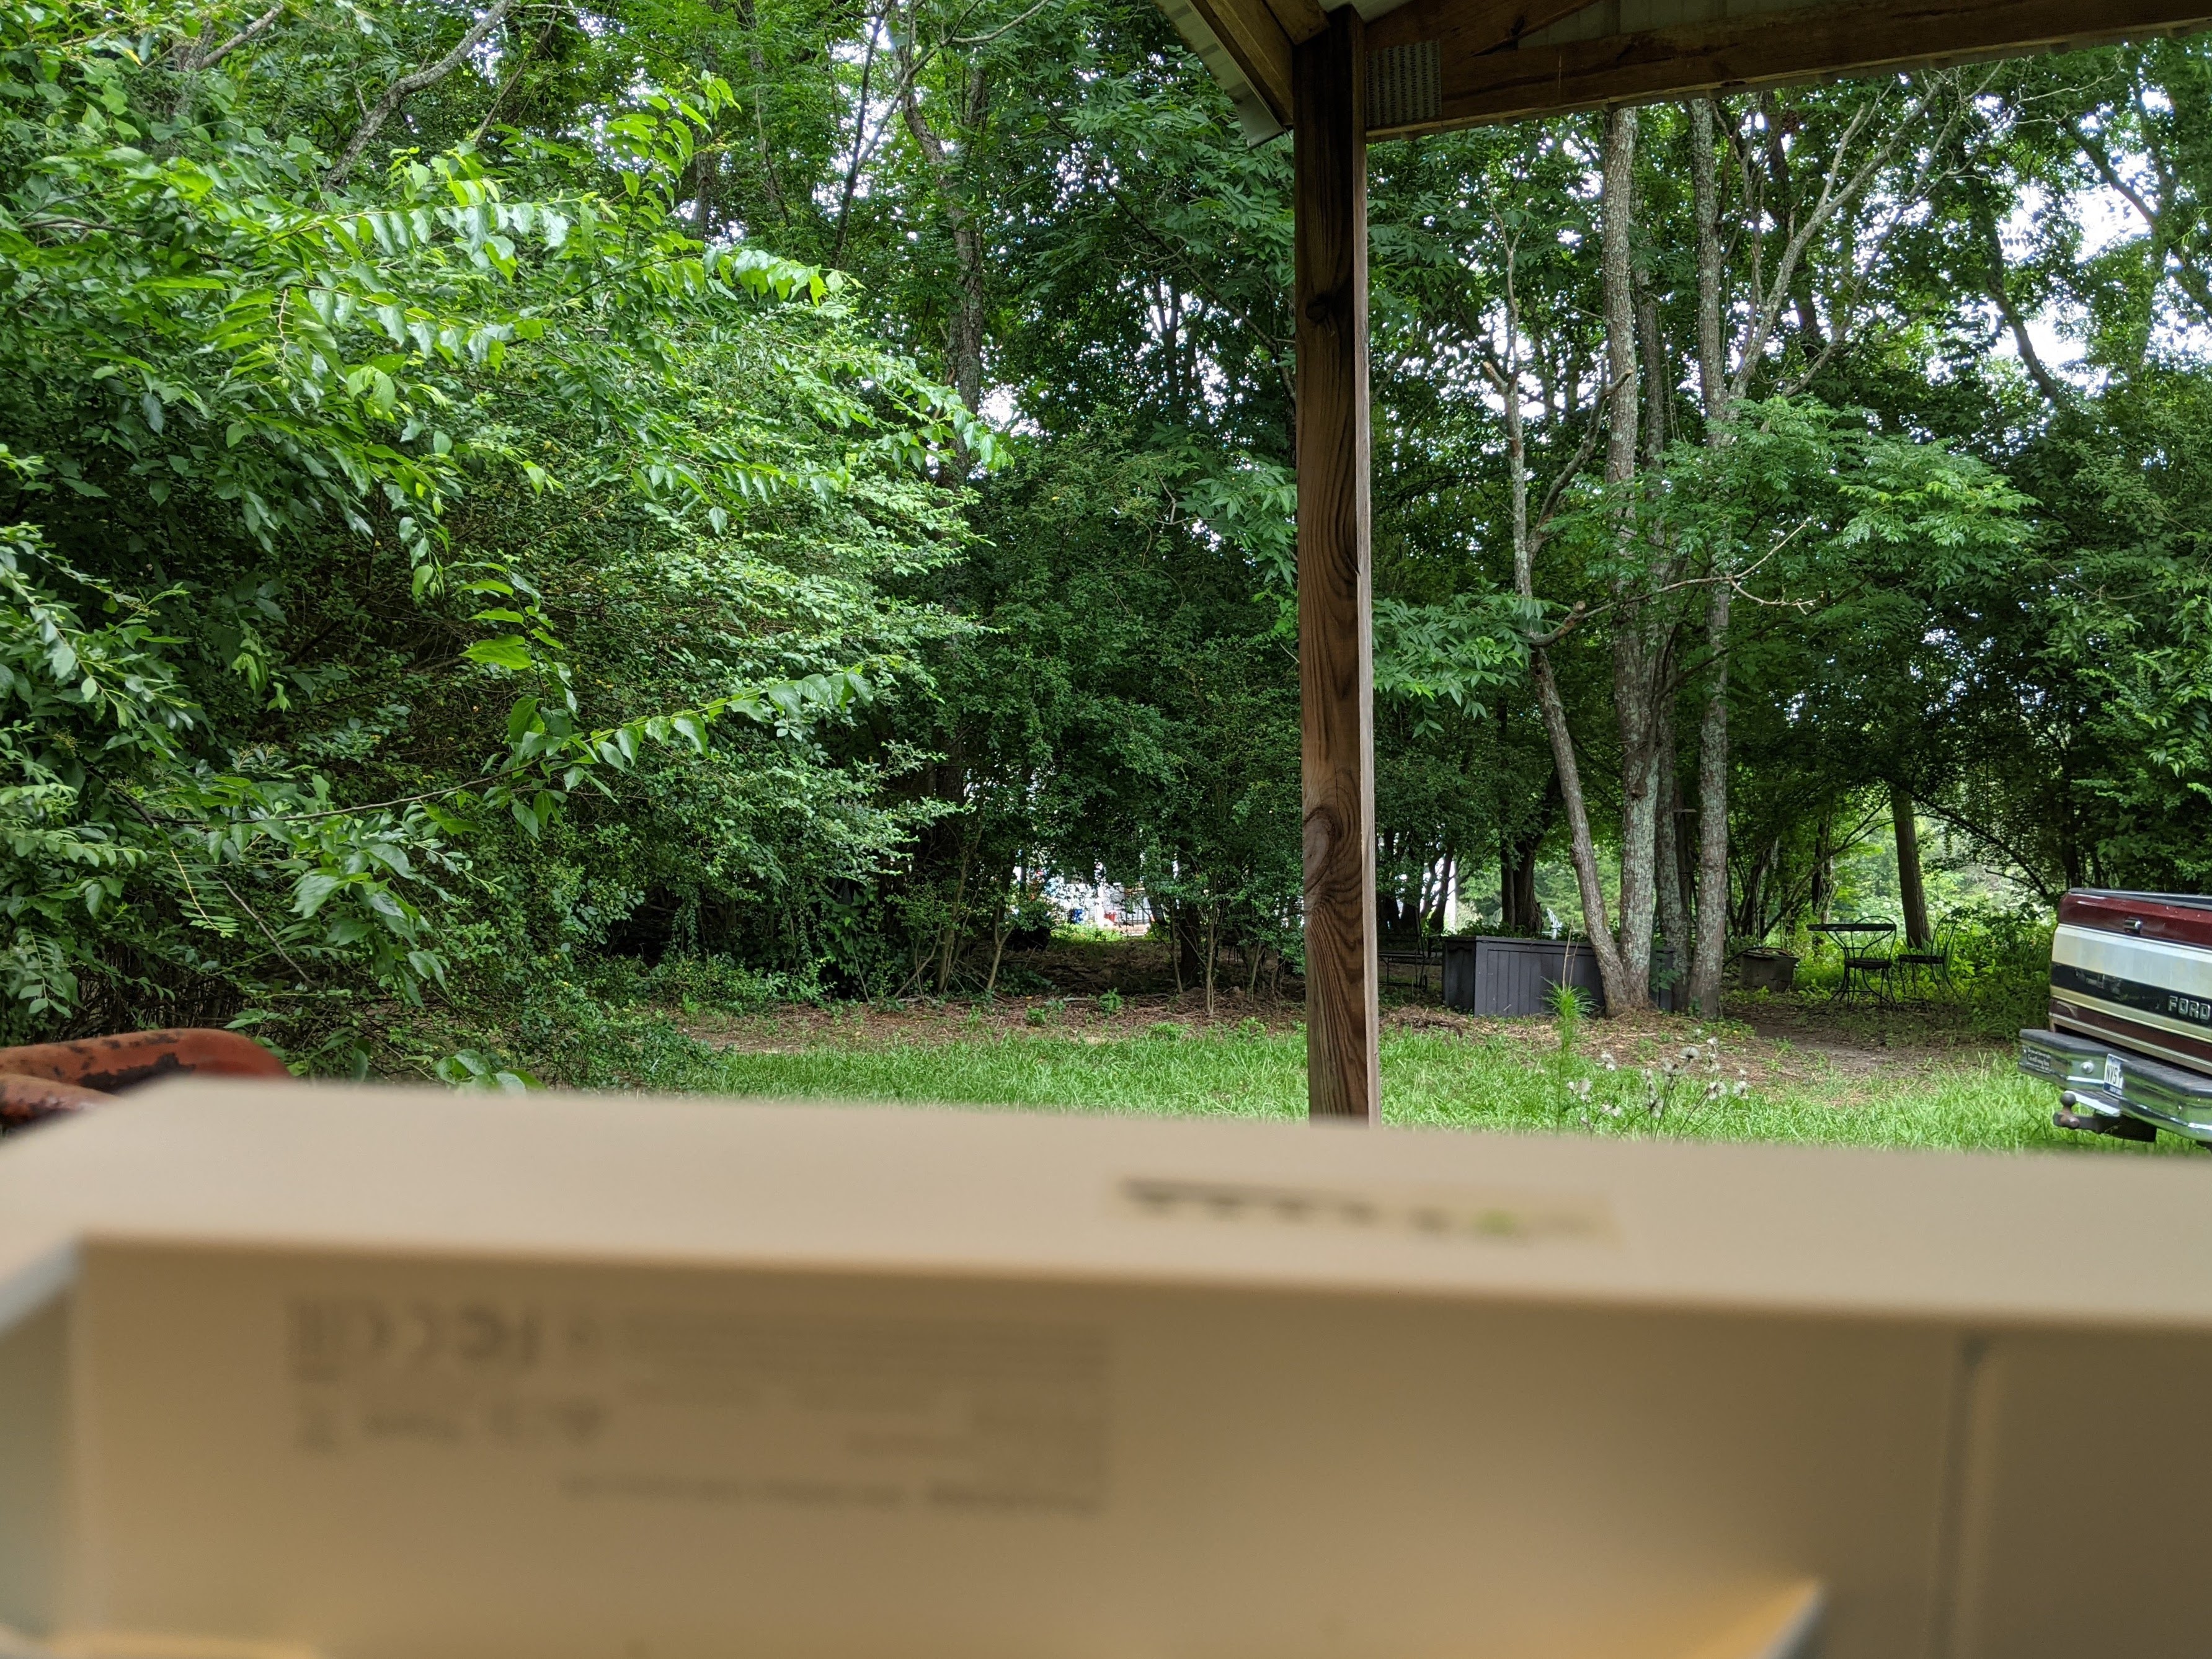 In June, the grove enjoys its full foliage—and the entire house is hardly visible at all. Note that we're still deliberately mis-aimed at the porch on the right, not the living room (completely obscured, on the left).Jim Salter
The marketing and documentation on these and other point-to-point kits is aimed squarely at professional installers, not homeowners. Phrases like "professional installation only," "tower mount," and "completely clear line of sight" crop up frequently. If you're trying to bridge a distance of several kilometers, this guidance is pretty reasonable. But for shorter distances, you can get a whole lot sloppier.
I've deliberately kept things as sloppy and simple here as I could. Instead of mounting the house's Access Point device to the roofline, I zip-tied it to a "cat tree" in the living room and aimed it loosely at the barn through a picture window. On the barn side, I just set the Client down on a utility shelf—and I deliberately aimed it a few degrees off-center from the unit in the house.
2.4 GHz vs. 5 GHz vs. fast Ethernet
These two TP-Link kits—and many competing directional Wi-Fi bridges—run on the older 802.11n (Wi-Fi 4) protocol and use a single radio only. You can purchase either a 2.4 GHz version or a 5 GHz version. And while it's tempting to think, "Oh, 5 GHz will be faster," that's rarely going to be the case.
Although 5 GHz Wi-Fi is technically capable of higher throughput than 2.4 GHz, it offers less range and penetration. These are important factors if you need to punch through several walls or a small patch of woods. When it comes to this and many other cheap Wi-Fi bridges, the limiting factor usually isn't the Wi-Fi anyway—it's the wired Ethernet interface.
Both CPE210 and CPE510 have Fast Ethernet (100Mbps) wired interfaces, not gigabit. That means anything more than 100Mbps is effectively wasted. Most people in rural areas should use 2.4 GHz for its greater range and penetration. People in densely packed suburban areas may want to choose 5 GHz instead, specifically for its lower range and penetration—especially if other neighbors' houses are directly in line with the bridge being created.
TP-Link also offers a newer, fancier point-to-point AP. I did not have the chance to test that particular device, but it features 802.11ac (Wi-Fi 5) and a gigabit interface—if you need more than 100Mbps, it may be worth considering. But in addition to some added cost, the CPE710 will require more effort to properly mount due to its physical complexity.
How it all works
These simple point-to-point APs only have one port on them: a 100Mbps Ethernet interface, hidden behind a weather-resistant access panel. That single interface provides the access point with both power and data.
If you have a Power over Ethernet (PoE) switch already, you can use it to feed your AP just like you would a camera or other device. If you don't have a PoE switch, you can just use the PoE injector included with the CPE210/CPE510 instead—the injector has one AC power plug, one "Data" Ethernet port that you plug into your network, and one Power + Data Ethernet port that goes to the AP.
On the remote side, things work just the same. You use either a PoE switch or the included injector to power and feed the access point. If you're using the injector, the "Data" port can be plugged into a single device directly or plugged into a switch to feed a whole network.
Although TP-Link's bridges support connecting client devices—e.g., laptops, phones, and tablets—to them directly, I don't recommend doing so. Configuring multiple devices to use the same Wi-Fi band and channel as the bridge APs do will have a severe impact on the point-to-point link quality.
If you're wondering how to get "whole barn Wi-Fi," it's simple—connect a Wi-Fi Access Point like TP-Link's EAP-225 to the output of the bridge. If you configure it to have the same SSID (network name) and password you'd use to connect at your house, your devices will even automatically roam to either side of the link.
If you're using Wi-Fi mesh such as Eero in your main house, you may not want to use the standalone access point approach outlined above. Instead, bring one of your mesh kit's nodes out to the barn or guest house and plug its Ethernet interface into the CPE210/CPE510. The Eero node will consider itself connected directly to its mesh siblings by wire, and everything will "just work" as though the barn Eero was still a house Eero.
Configuration
 On the Access Point side of the link, we create a new SSID and password...Jim Salter
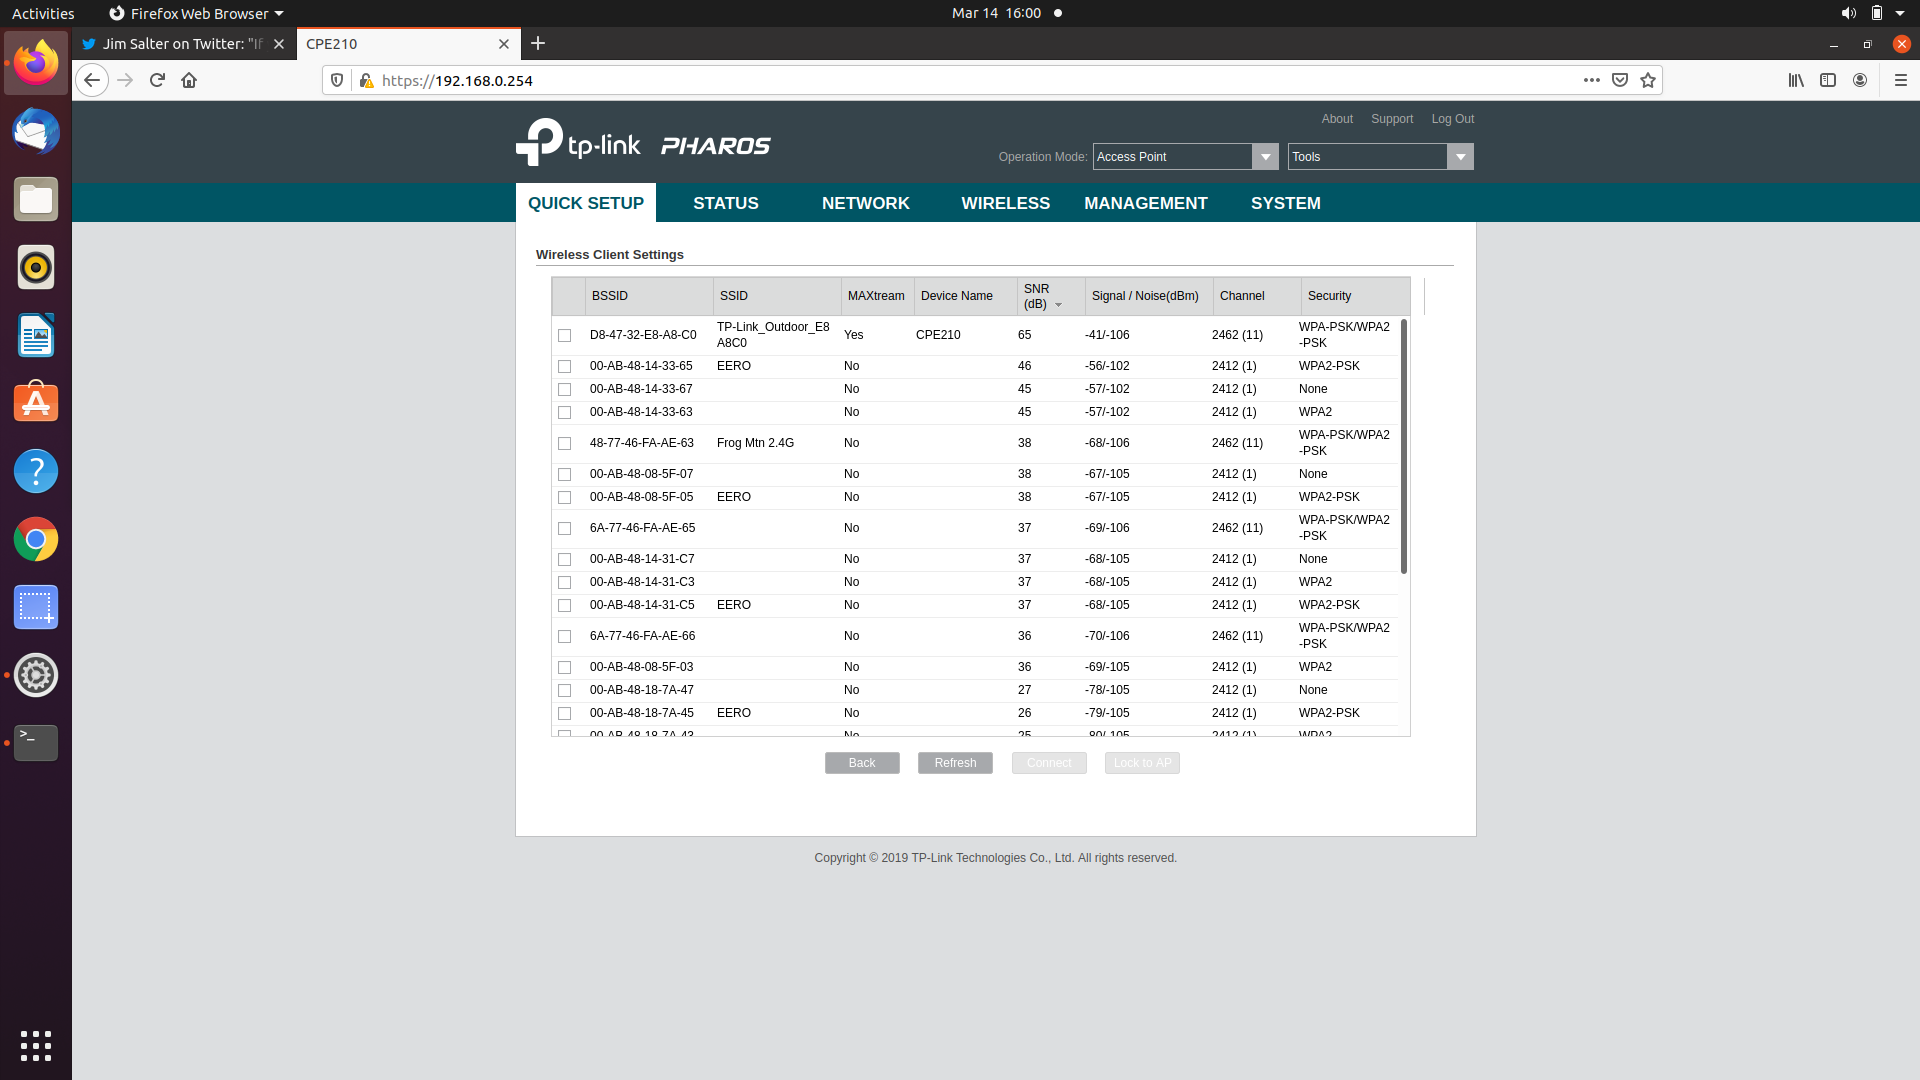 ... and on the Client side, we connect to the new SSID we created on the Access Point side earlier. (Check out that 19dB SNR increase compared to the house's Eero network!)Jim Salter
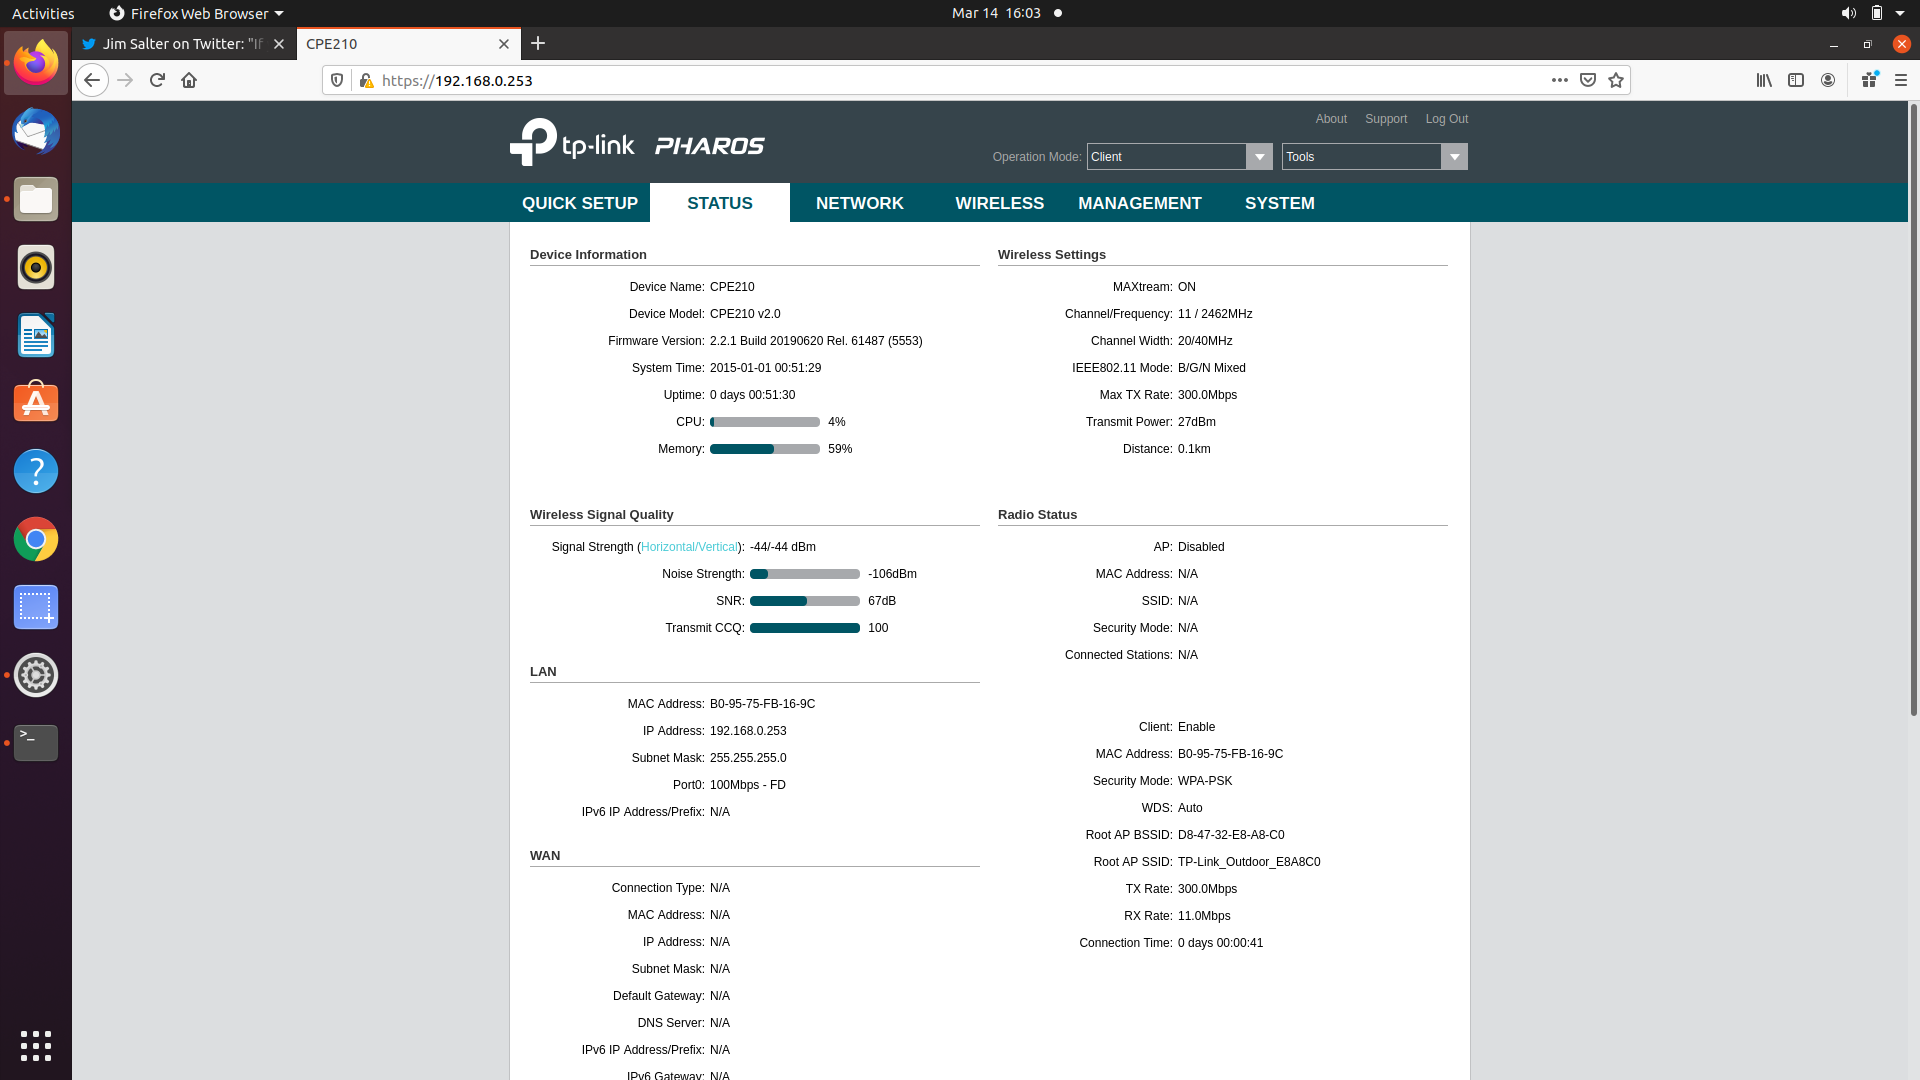 Once Access Point and Client are connected, we get a nice, information-dense status page.Jim Salter
The TP-Link bridges I tested use TP-Link's "Pharos" configuration interface. To log in to a brand-new Pharos-powered bridge AP, you will need a laptop or PC with Ethernet interface, which you'll plug into the same network as the bridge unit. (On the remote side, you'll plug directly into the "Data" port of the AP's power injector.)
After temporarily giving your PC a static IP address in the 192.168.0.x subnet—for example, 192.168.0.10—you browse to the AP's factory default IP address at http://192.168.0.254/. After a default admin:admin login, you'll be prompted to select a new username and password, then led into a Quick Setup wizard.
Access Point in the house, client in the barn
The first page of the Quick Setup Wizard asks you to choose a mode for your device: Access Point, Client, Repeater, Bridge, AP Router, or AP Client Router. We're going to keep this simple: you want Access Point mode inside the house, and Client mode inside your outbuilding.
We do not recommend any other mode—or, at the very least, we don't recommend the other modes to anyone who actually needs to read this article for guidance.
Finally, make sure to set up the Access Point in full before beginning the Client setup. The Client needs to connect to the already-configured Access Point during its initial setup.
IP settings
Once you select Access Point or Client mode, you'll be offered a choice to change the IP settings for the Ethernet interface, then Wi-Fi settings for its radio. The only requirement for the devices' Ethernet is that they have separate IP addresses—you can't have both AP and Client on the default 192.168.0.254.
If you want to access their interfaces easily from your main network, you can give them addresses on the same subnet (eg 192.168.1.50 on a 192.168.1.x LAN), but that's not a requirement. In some cases, you might actually prefer a little "security by obscurity" that requires someone to manually configure a laptop's IP settings before accessing the configuration pages for the APs.
Wi-Fi settings
Once you've configured the IP settings for your bridge, you'll need to set up its Wi-Fi. On the Access Point side, that means creating a network—on the Client side, it just means connecting to the network you already created on the AP side.
The Wi-Fi settings you create for the AP should not match those of your "real" Wi-Fi—they're only for the point-to-point devices to find one another! The default SSID begins with 'TP-LINK_Outdoor" and is usually a good choice, although I highly recommend setting security to WPA-PSK/WPA2-PSK and setting a password.
Distance
Finally, there's a "Distance" setting that allows a range from 0 to 27.9 km. You may be tempted to set it all the way up, to "really blast that signal out there." Don't! If you set the distance too high, you'll harm your own throughput and potentially screw up the RF environment for several linear miles beyond your own link.
Our own link bridged about 80m of distance, much of which was moderately wooded. So I set the distance accurately, to 0.1 km—and I got the absolute maximum performance these devices could provide.
Once you've set your distance, you're done—there's just one more "Next," a chance to review your settings, and then "Finish." With both devices fully configured, you can get a quick eyeball indicator of the link quality via a column of green LEDs on the side of each unit.
It should not be difficult to achieve full signal strength and quality in most settings. So if you've got less than the full column lit, consider either aiming the devices more carefully or removing some obstructions.
Results
 Despite sloppy aiming, uncleared woods, and having only one unit sideways, we see full signal strength on the CPE510.Jim Salter
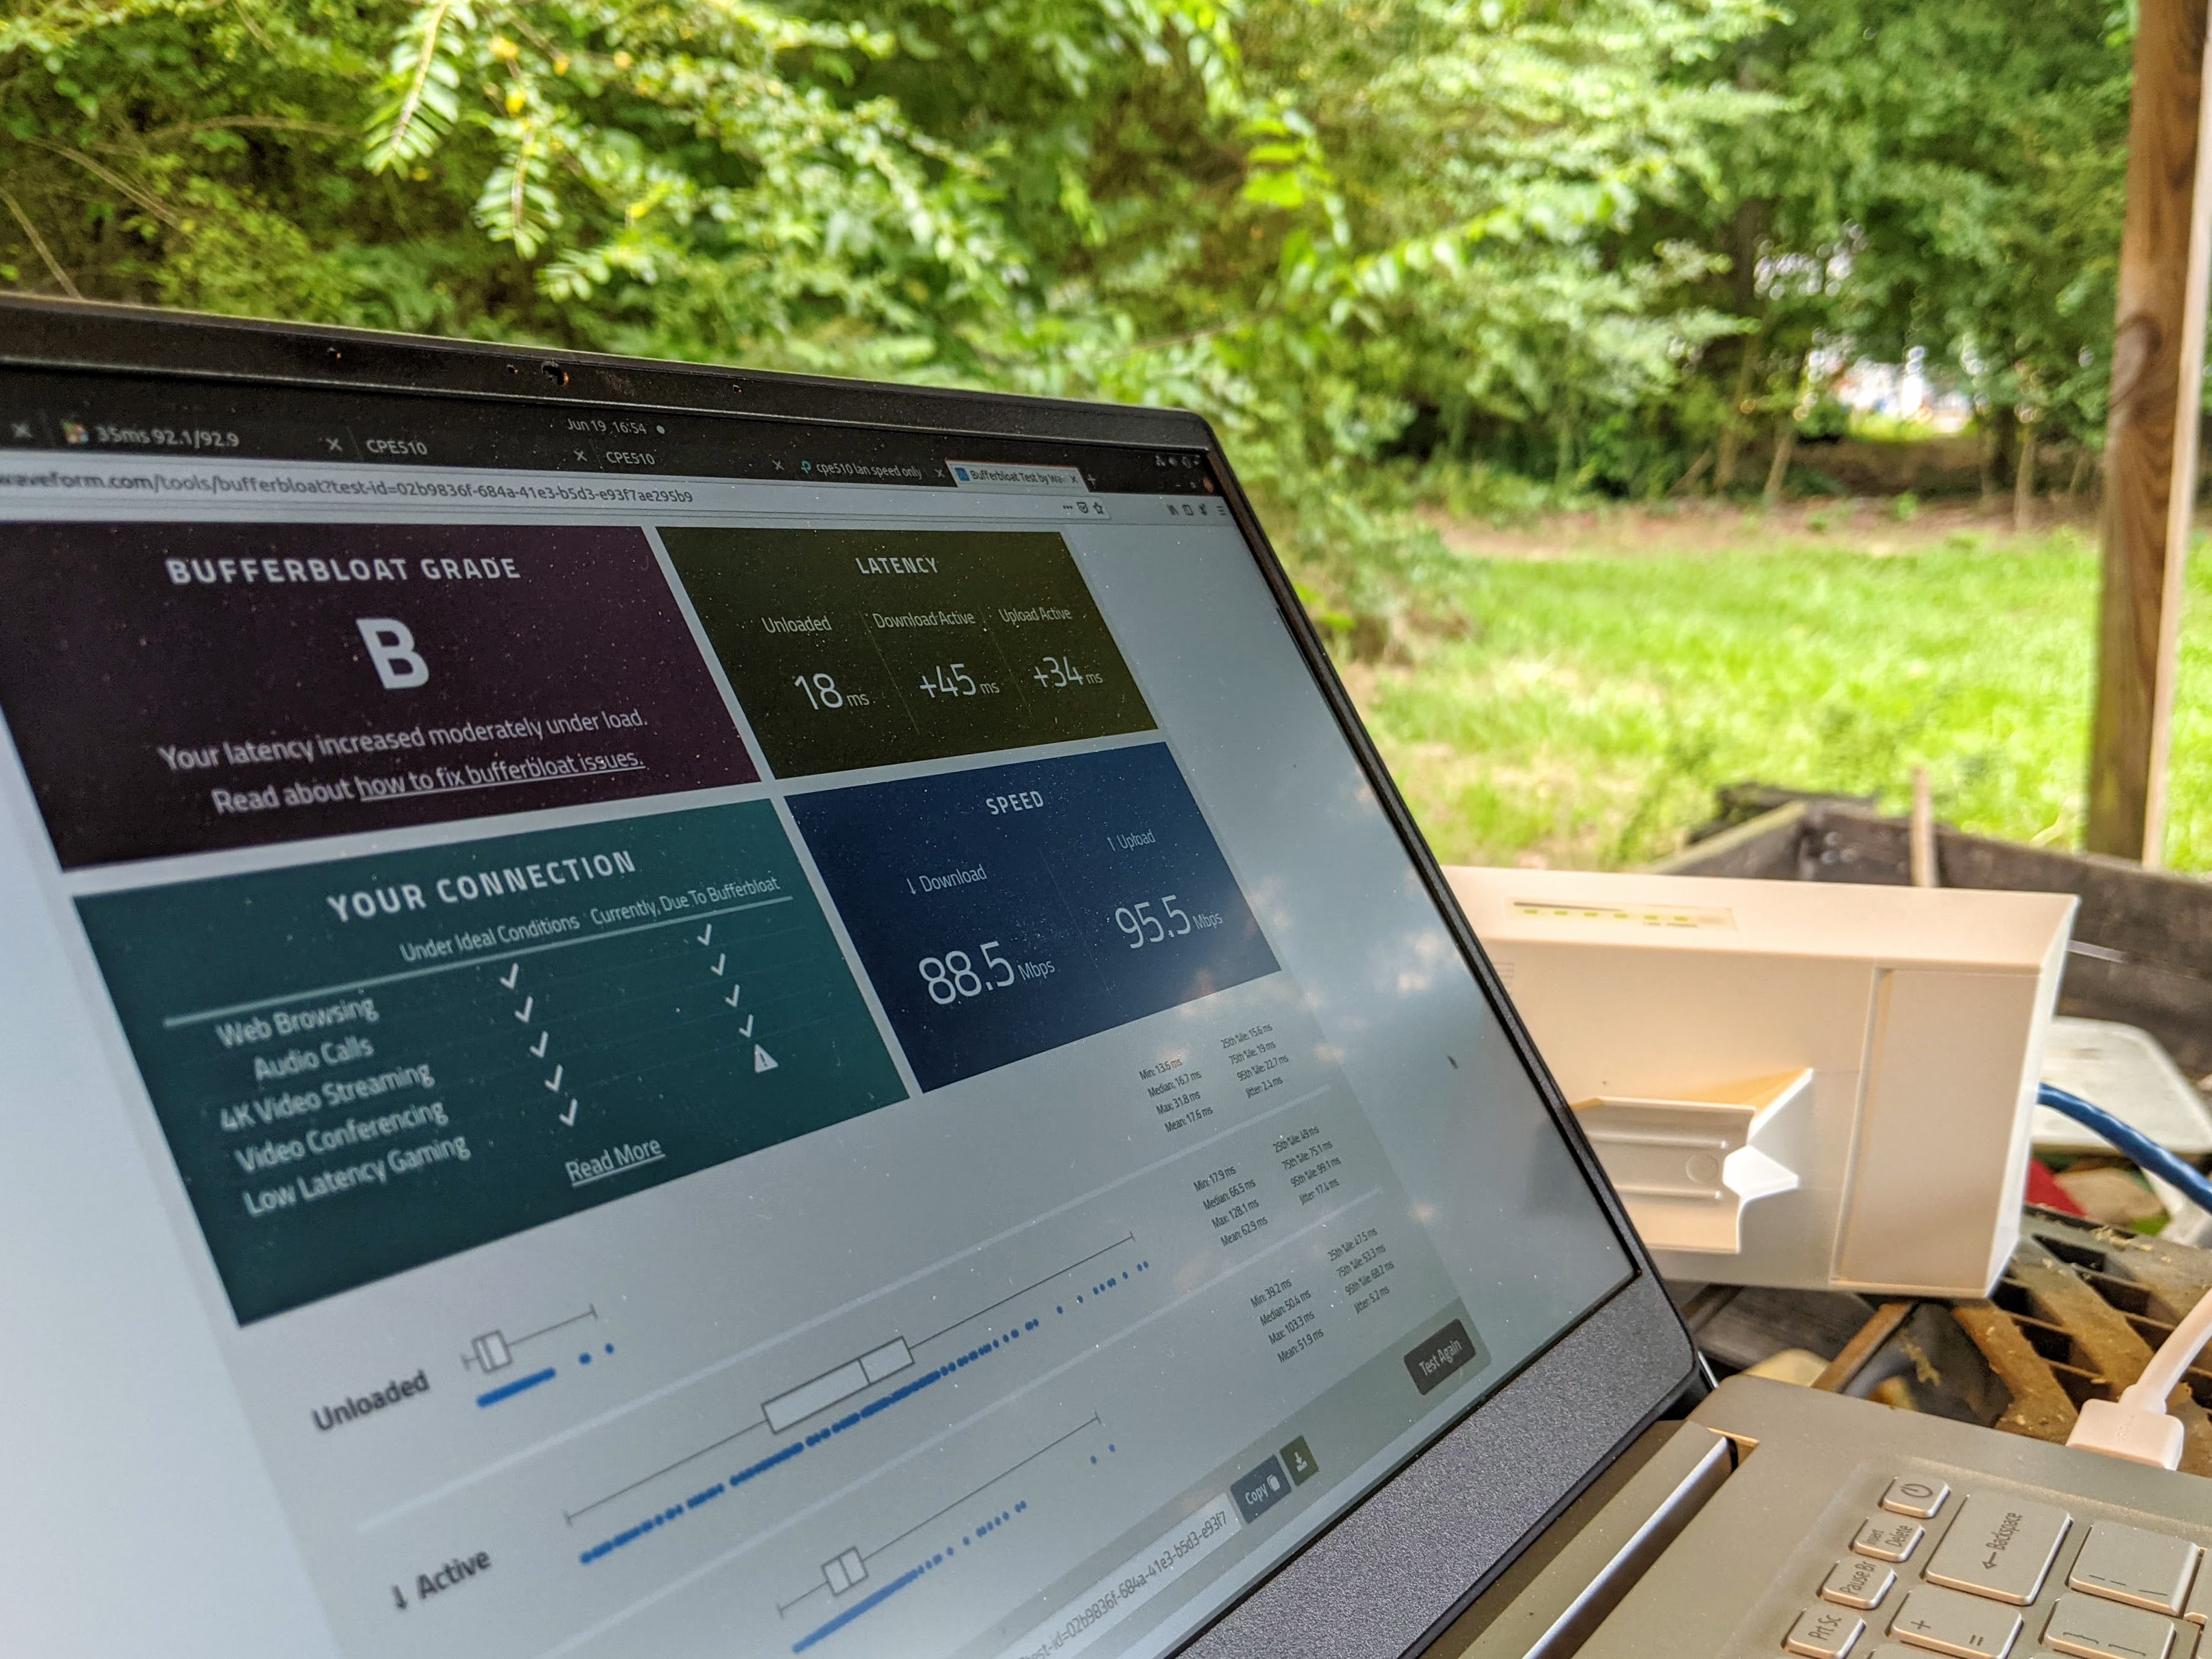 The 88.5Mbps down / 95.5 Mbps up we see here at the barn is effectively indistinguishable from speedtests run in the house.Jim Salter
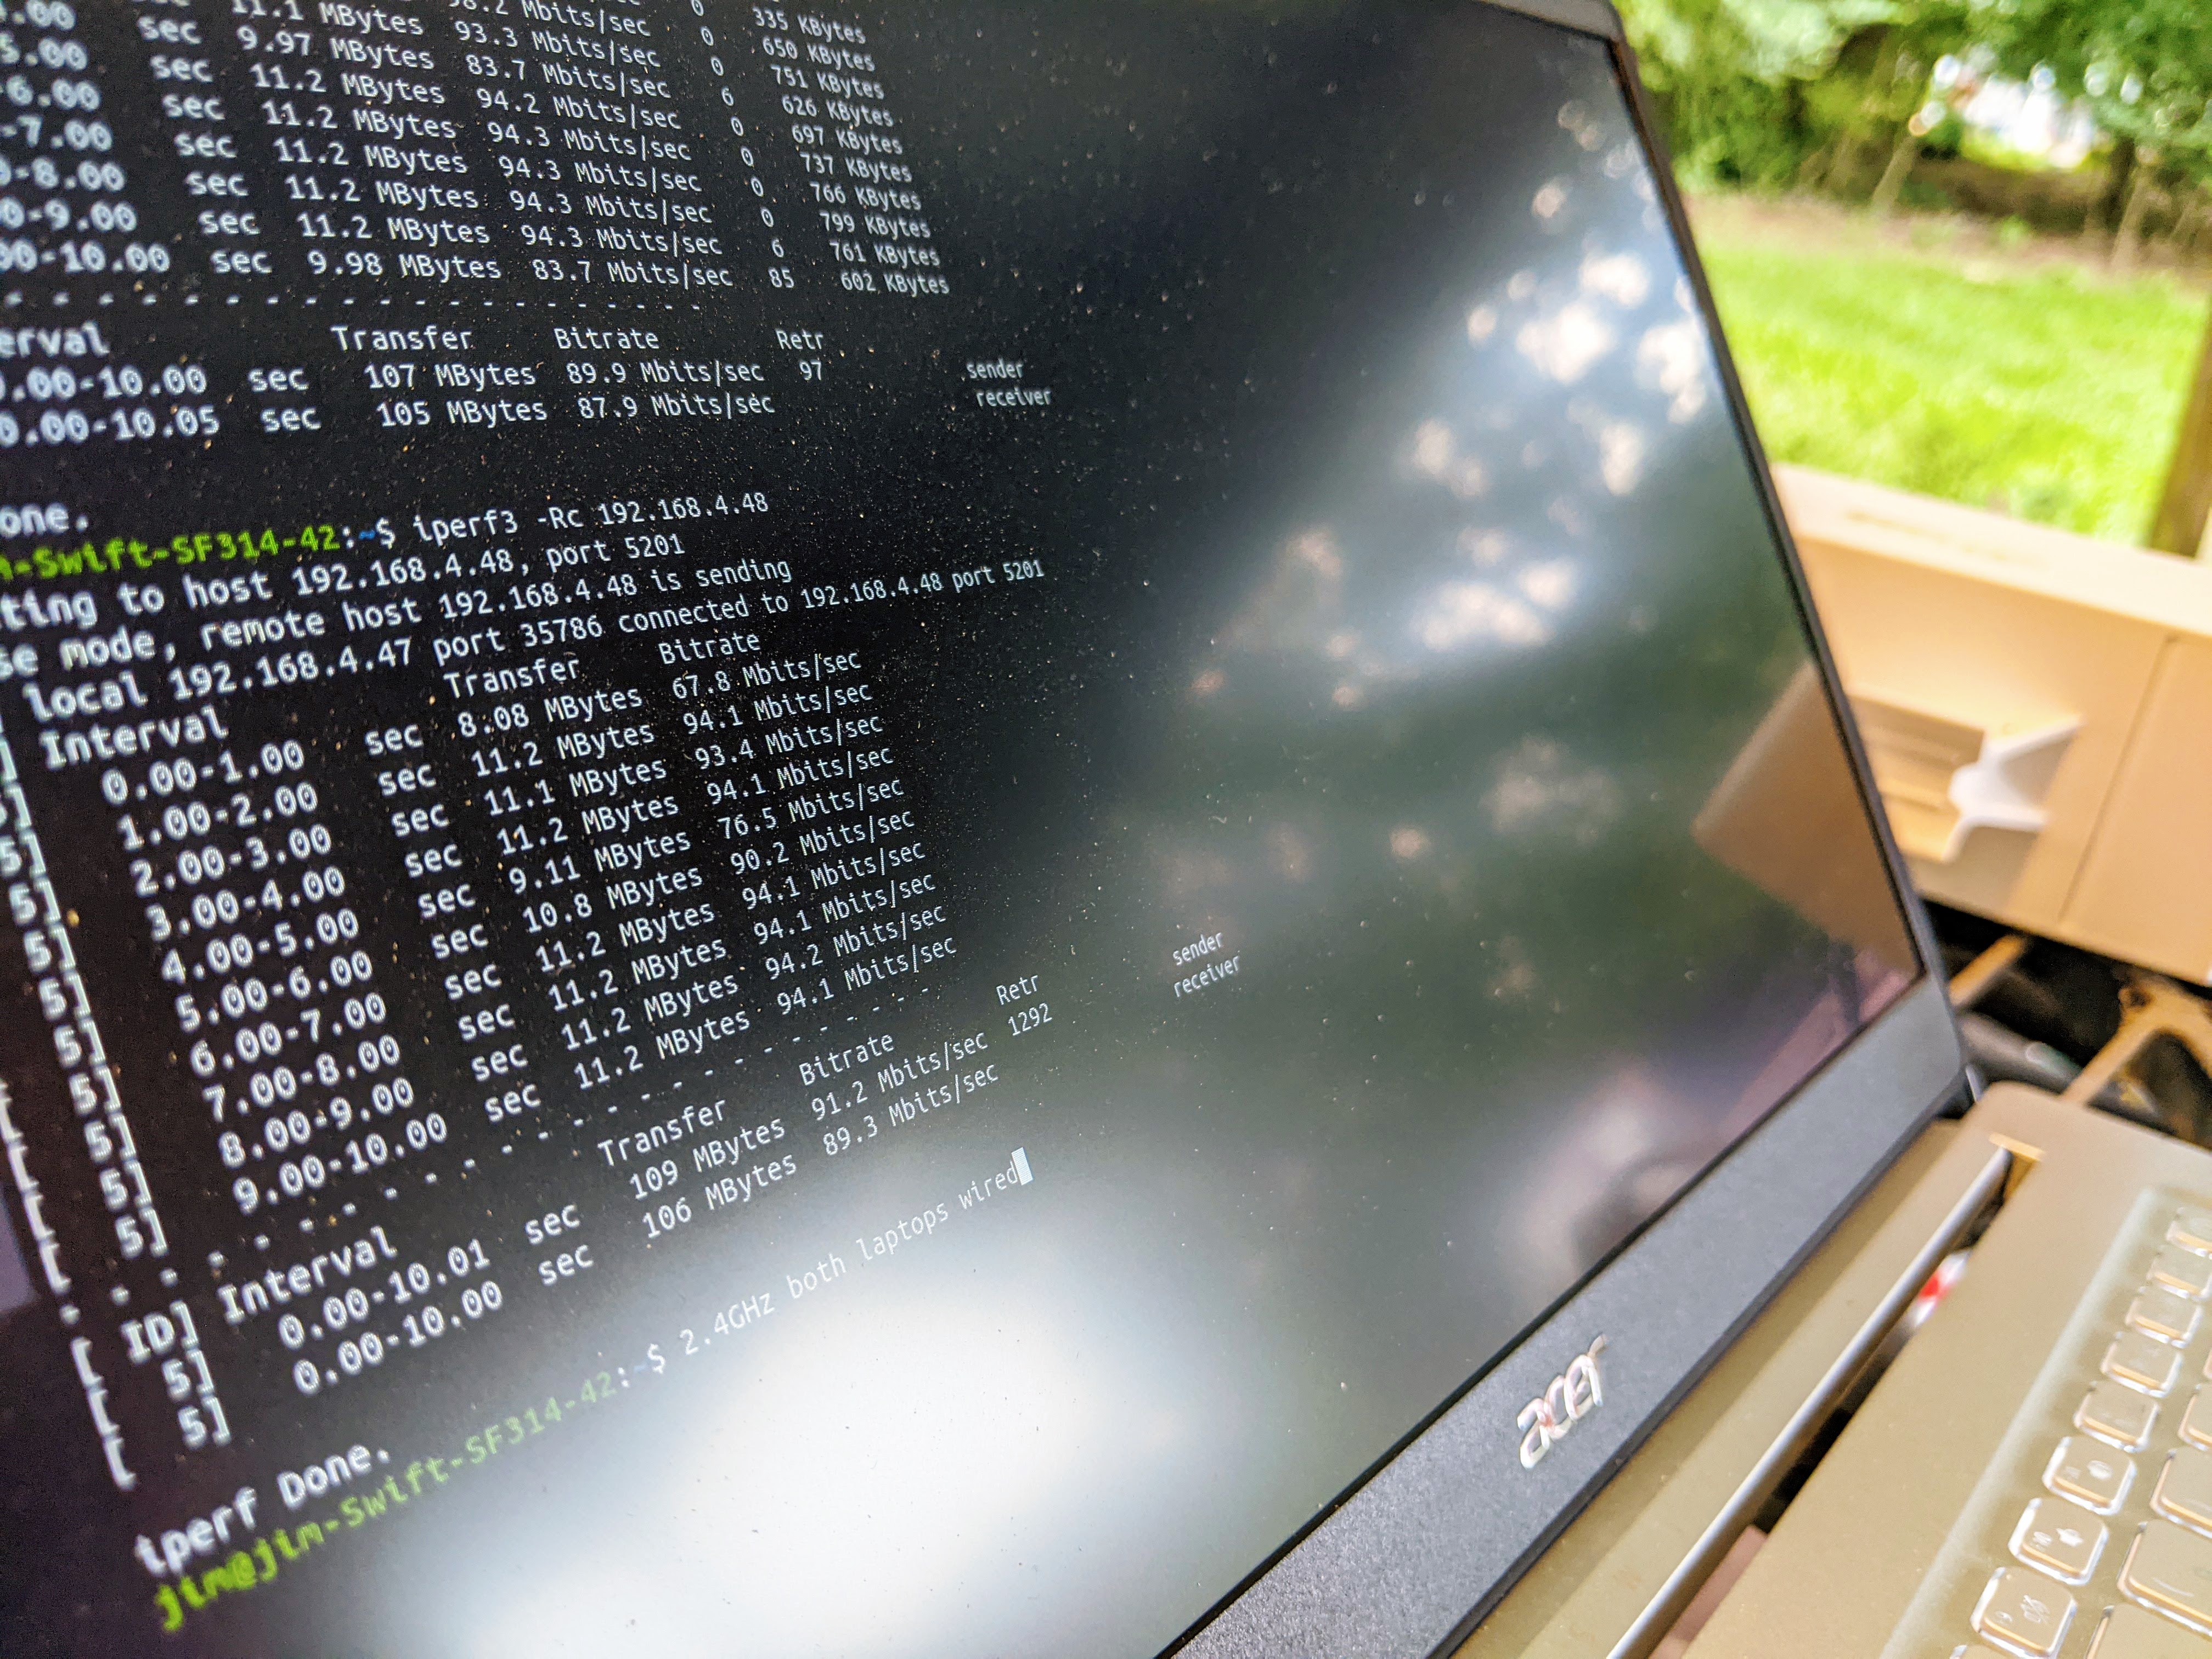 This iperf3 test runs between two machines wired to either side of the 2.4GHz CPE210 link.Jim Salter
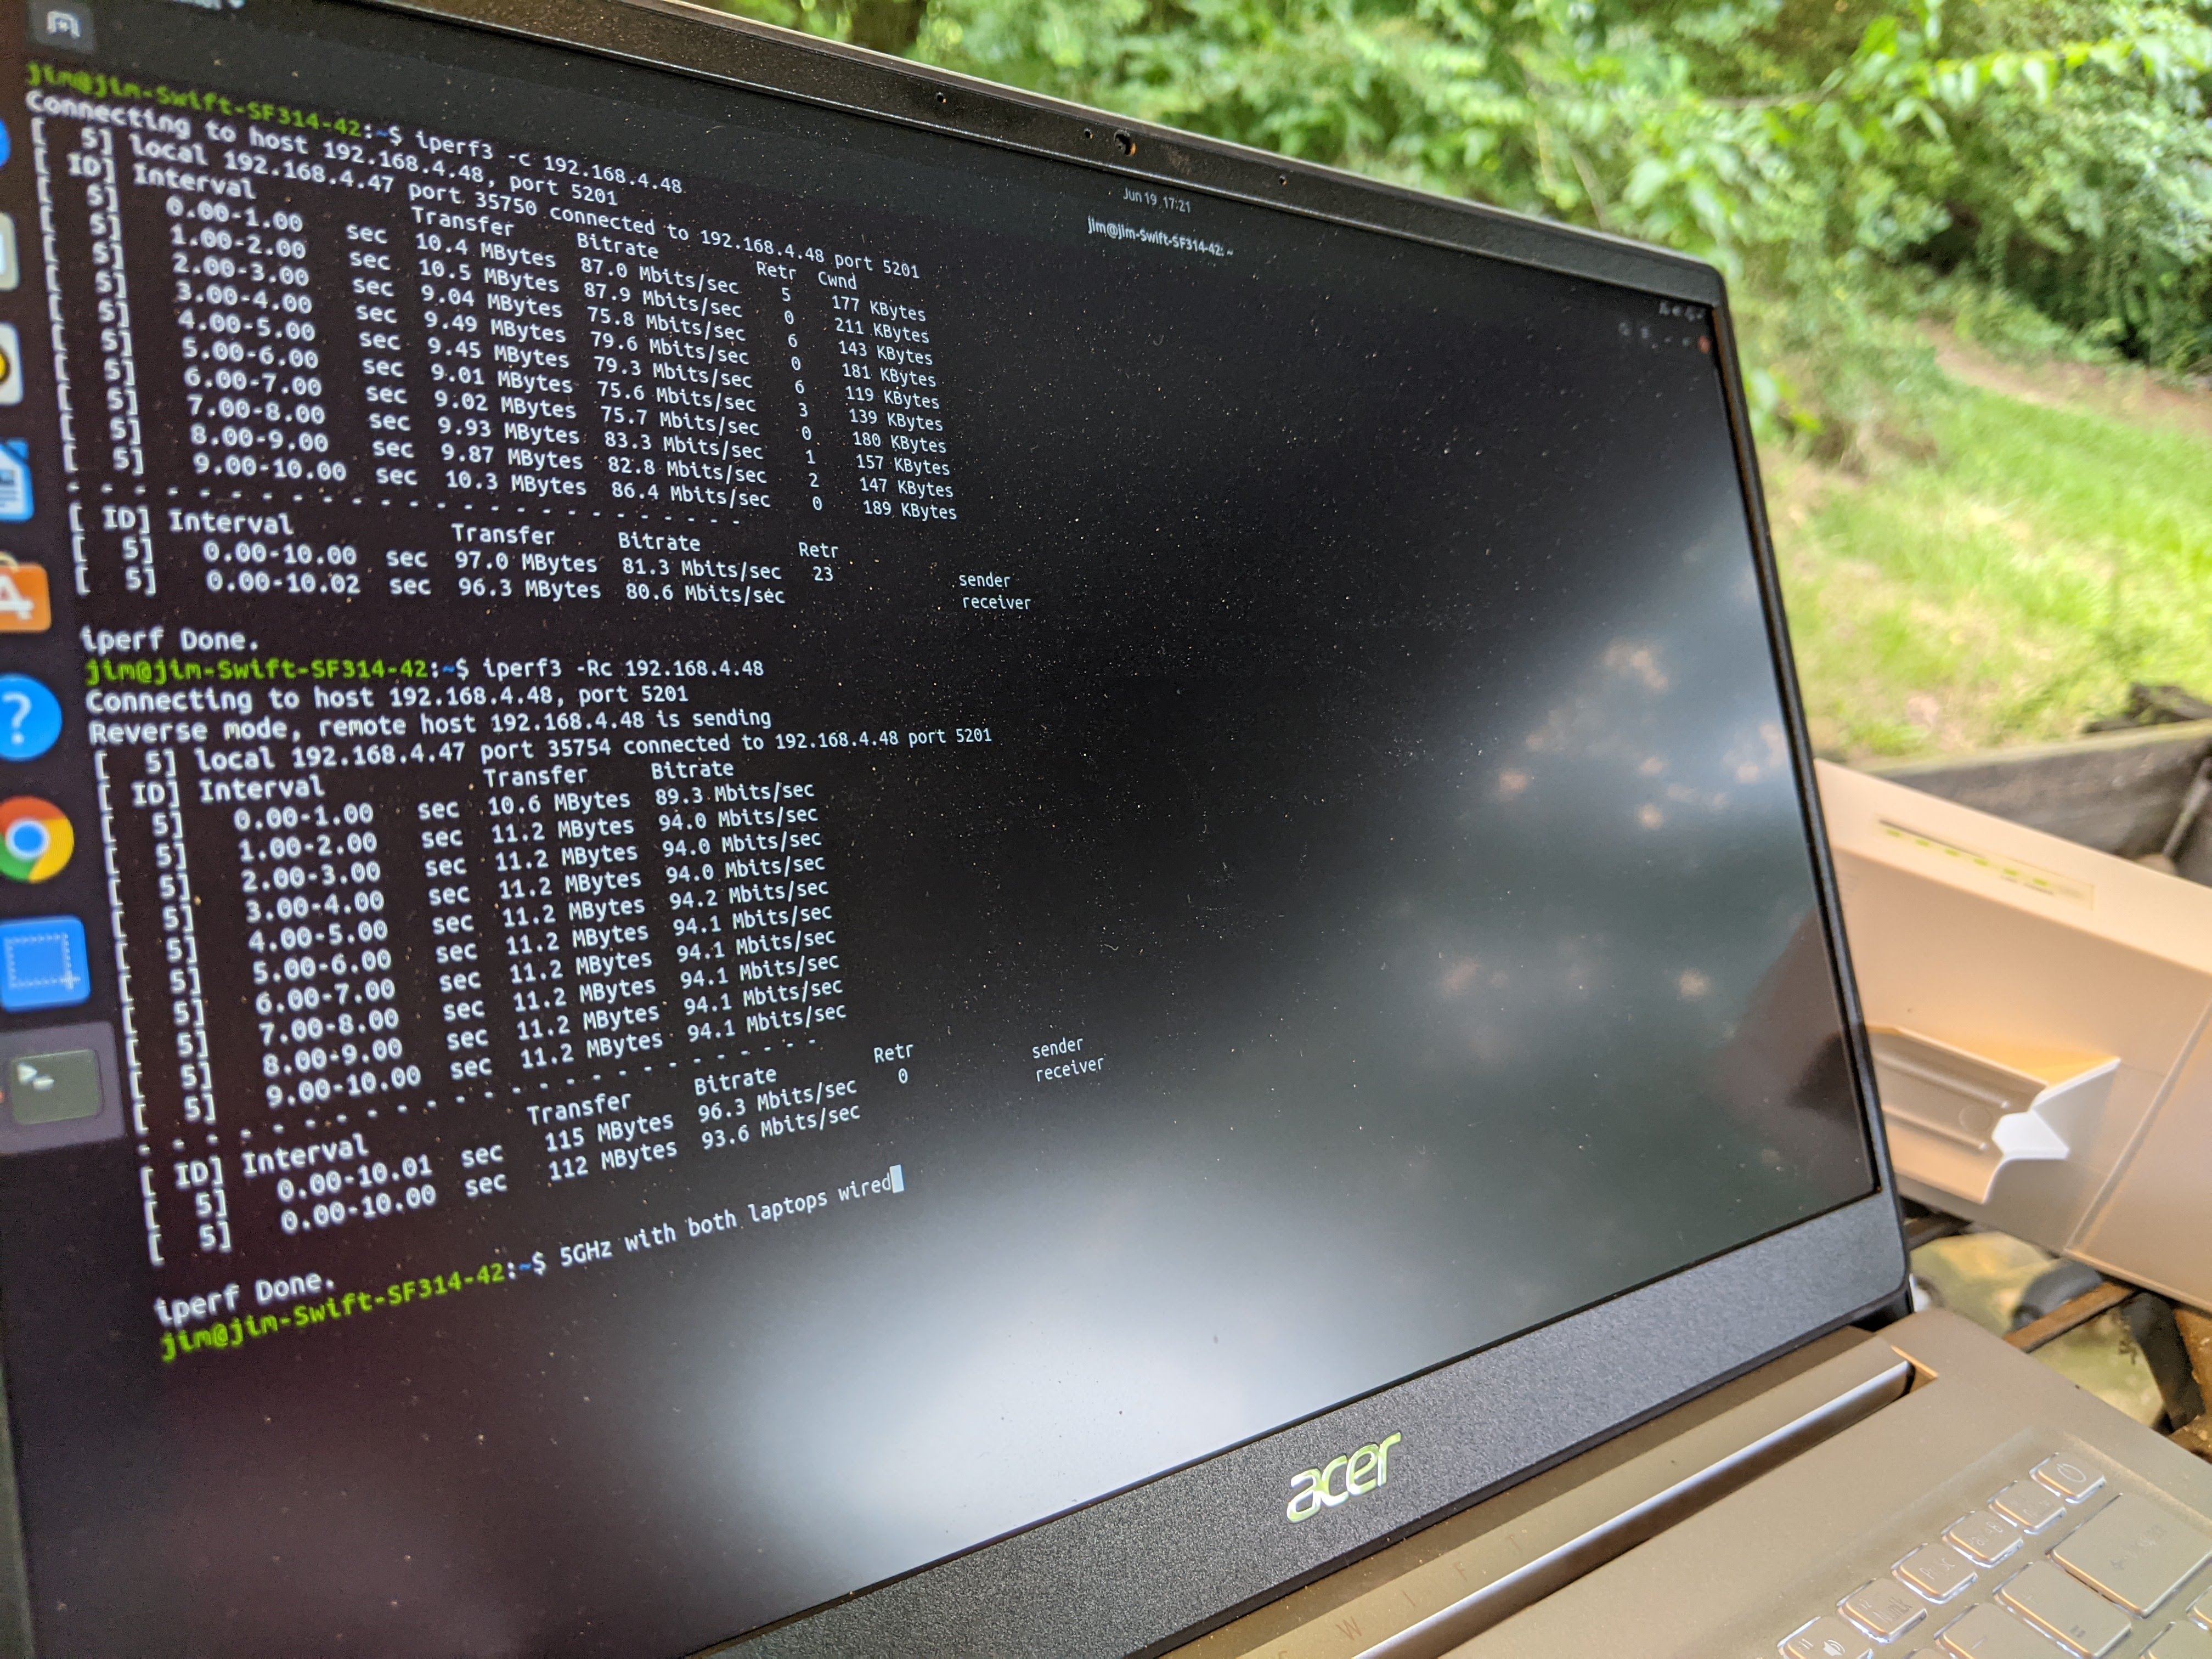 With full foliage on our trees, the 5GHz CPE510 link exhibits slightly lower upload throughput—and noticeably more variance—than the 2.4GHz link does.Jim Salter
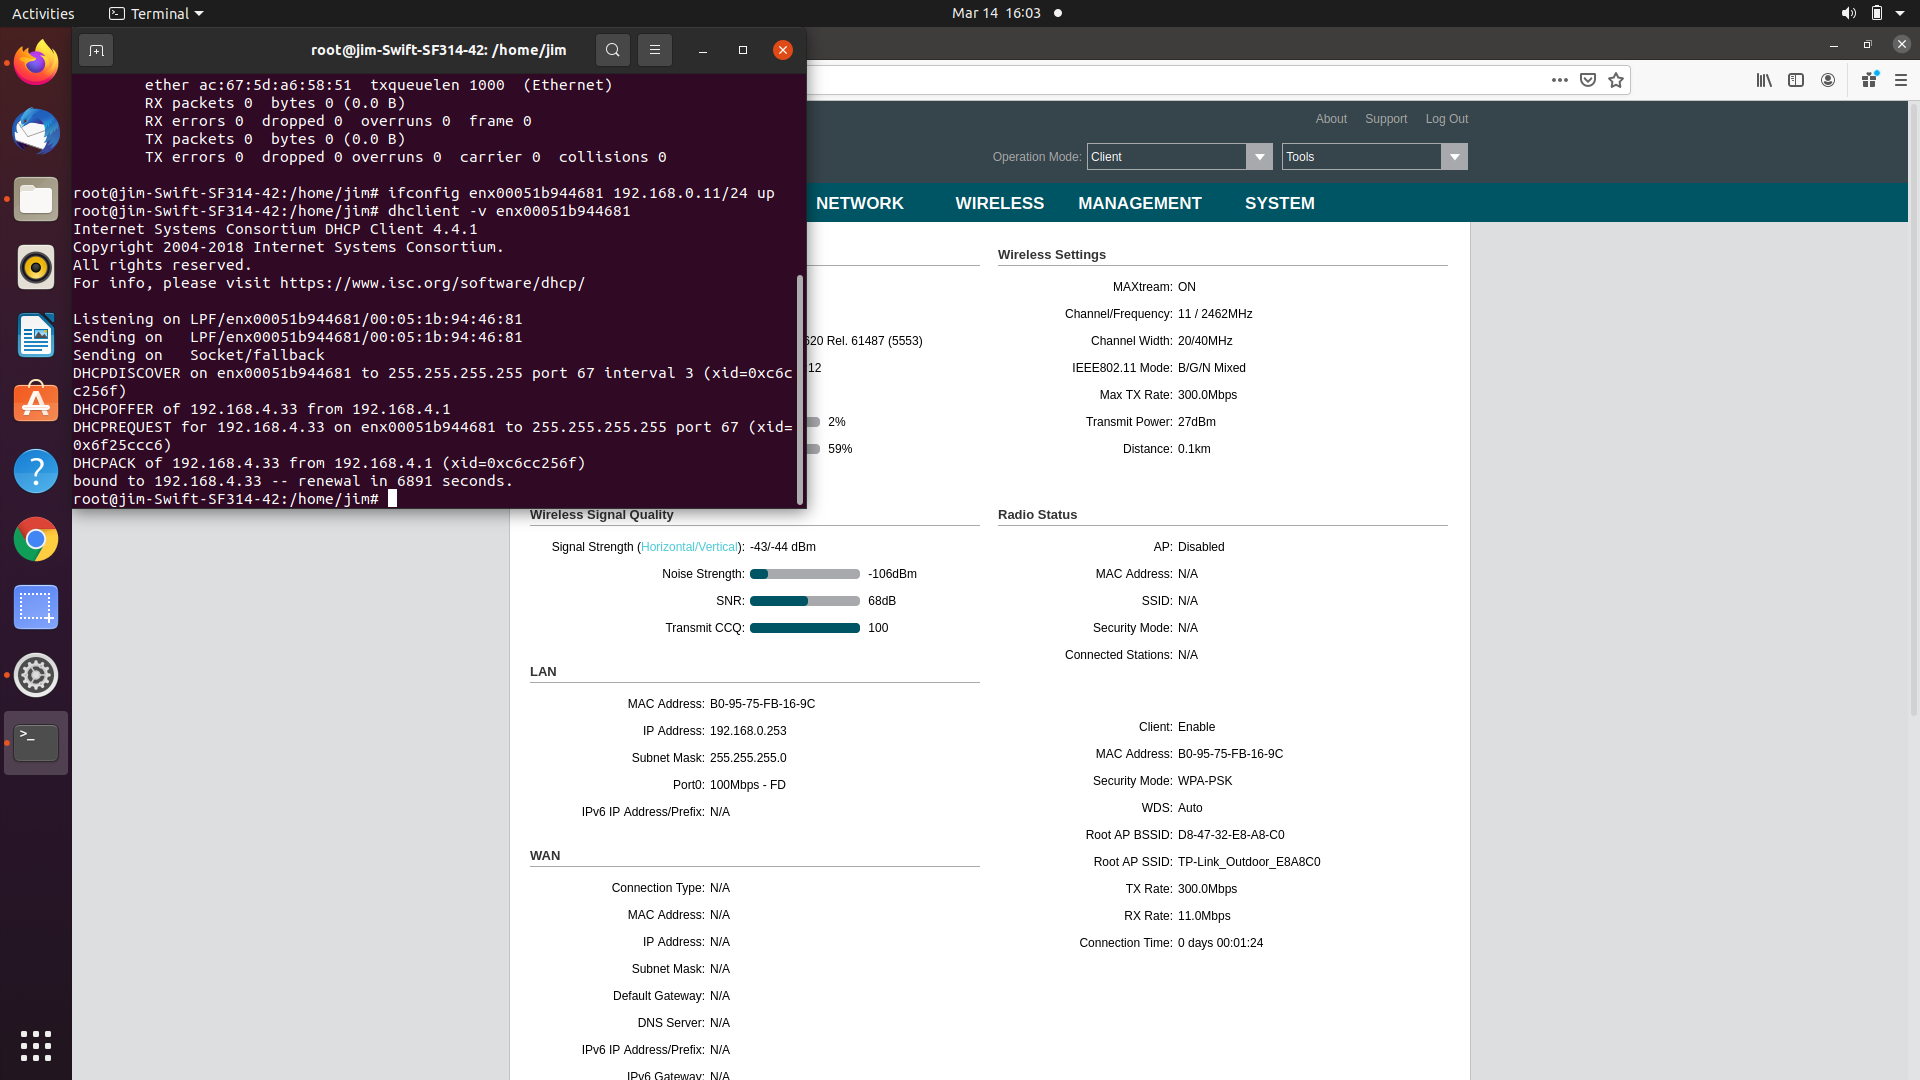 Strictly for the nerds—we can see here that DHCP requests and responses flow across the link just fine, even though the house LAN and link LAN are on different subnets.Jim Salter
A proper professional installation of these devices would have pole-mounted each side on the respective building's exterior and run an Ethernet cable from inside the building out to the pole. I intentionally didn't do that—on the house side, I kept the Access Point in the living room and just aimed it through the window. On the barn side, I just set the Client down on a utility shelf.
Despite my lackadaisical installation, both 2.4 GHz CPE210 and 5 GHz CPE510 achieved their maximum, wired-Ethernet-limited throughput of ~100Mbps without an issue. I did find that the 2.4 GHz link is—unsurprisingly—more forgiving of even sloppier installations and even more physical obstructions.
We tested both kits twice, once in March and once in June. With very little foliage on the trees, both CPE210 and CPE510 worked almost as well inside the barn (and its corrugated metal walls) as they had outside on the utility shelf. With heavy foliage on the trees in June, moving the 2.4 GHz CPE210 inside the barn decreased throughput a little, to a solid 80Mbps—but the 5 GHz CPE510's dropped sharply to less than 20Mbps.
It's worth pointing out for those with somewhat longer, uglier hauls that even the ~20Mbps link was perfectly usable—in sharp contrast to the house's own Wi-Fi at the same distance. In March, I managed after some trial and effort to get my test laptop connected directly to the house Eero from the barn, but at only a few kilobits throughput. In June, I couldn't even see the house network from the barn, let alone connect to it.
Conclusion
Despite being purposefully sloppy in my installation—one unit inside the house, one unit vertical, and the other horizontal, haphazard aiming of the two—I achieved excellent results on both 2.4 GHz CPE210 and 5 GHz CPE510 kits. There was no significant difference between speedtests over 100Mbps fiber Internet while connected to an Eero unit inside the house or connected to a barn Eero fed over the point-to-point link.
So with proper mounting and aiming and a well-maintained clear line of sight, these devices can bridge more than 25 km—though for that, you'll need that professional installation, mounting, and/or tree-trimming. But for my own 80 m experiment, none of that was necessary—as it won't be for most folks applying this setup to any relatively nearby outbuildings.
If you're an even moderately technical user, you can wirelessly bridge two buildings near-effortlessly with either of these kits and without a professional installer or hours lost on nitpicky mounting hardware. I used nothing more complex than a zip tie on either end of my installation, did absolutely nothing to clear obstructions, and got excellent results anyway. We promise, you can do it, too.
Listing image by Jim Salter
"easy" - Google News
August 20, 2021 at 06:15PM
https://ift.tt/3gh8XTw
Point-to-point Wi-Fi bridging between buildings—the cheap and easy way - Ars Technica
"easy" - Google News
https://ift.tt/38z63U6
Shoes Man Tutorial
Pos News Update
Meme Update
Korean Entertainment News
Japan News Update
Bagikan Berita Ini


0 Response to "Point-to-point Wi-Fi bridging between buildings—the cheap and easy way - Ars Technica"
Post a Comment